Ingredients
Equipment
Method
Prepare the Pan
- Preheat the oven to 350°F (175°C). Grease an 8×8-inch baking pan and line it with parchment paper, leaving enough overhang to lift the brownies out later.
Make the Brownie Batter
- Melt the unsalted butter and chopped dark chocolate together in a microwave-safe bowl or double boiler, stirring until completely smooth. Allow the mixture to cool slightly.
- Whisk the granulated sugar, eggs, and vanilla extract into the melted chocolate mixture until well combined.
- In a separate bowl, whisk together the cocoa powder and salt.
- Gradually fold the cocoa mixture into the wet ingredients just until combined. Avoid overmixing.
- Pour the brownie batter into the prepared baking pan and smooth the top into an even layer.
Bake and Cool
- Bake for 25–30 minutes, or until a toothpick inserted into the center comes out with a few moist crumbs attached.
- Place the pan on a cooling rack and allow the brownies to cool completely before decorating.
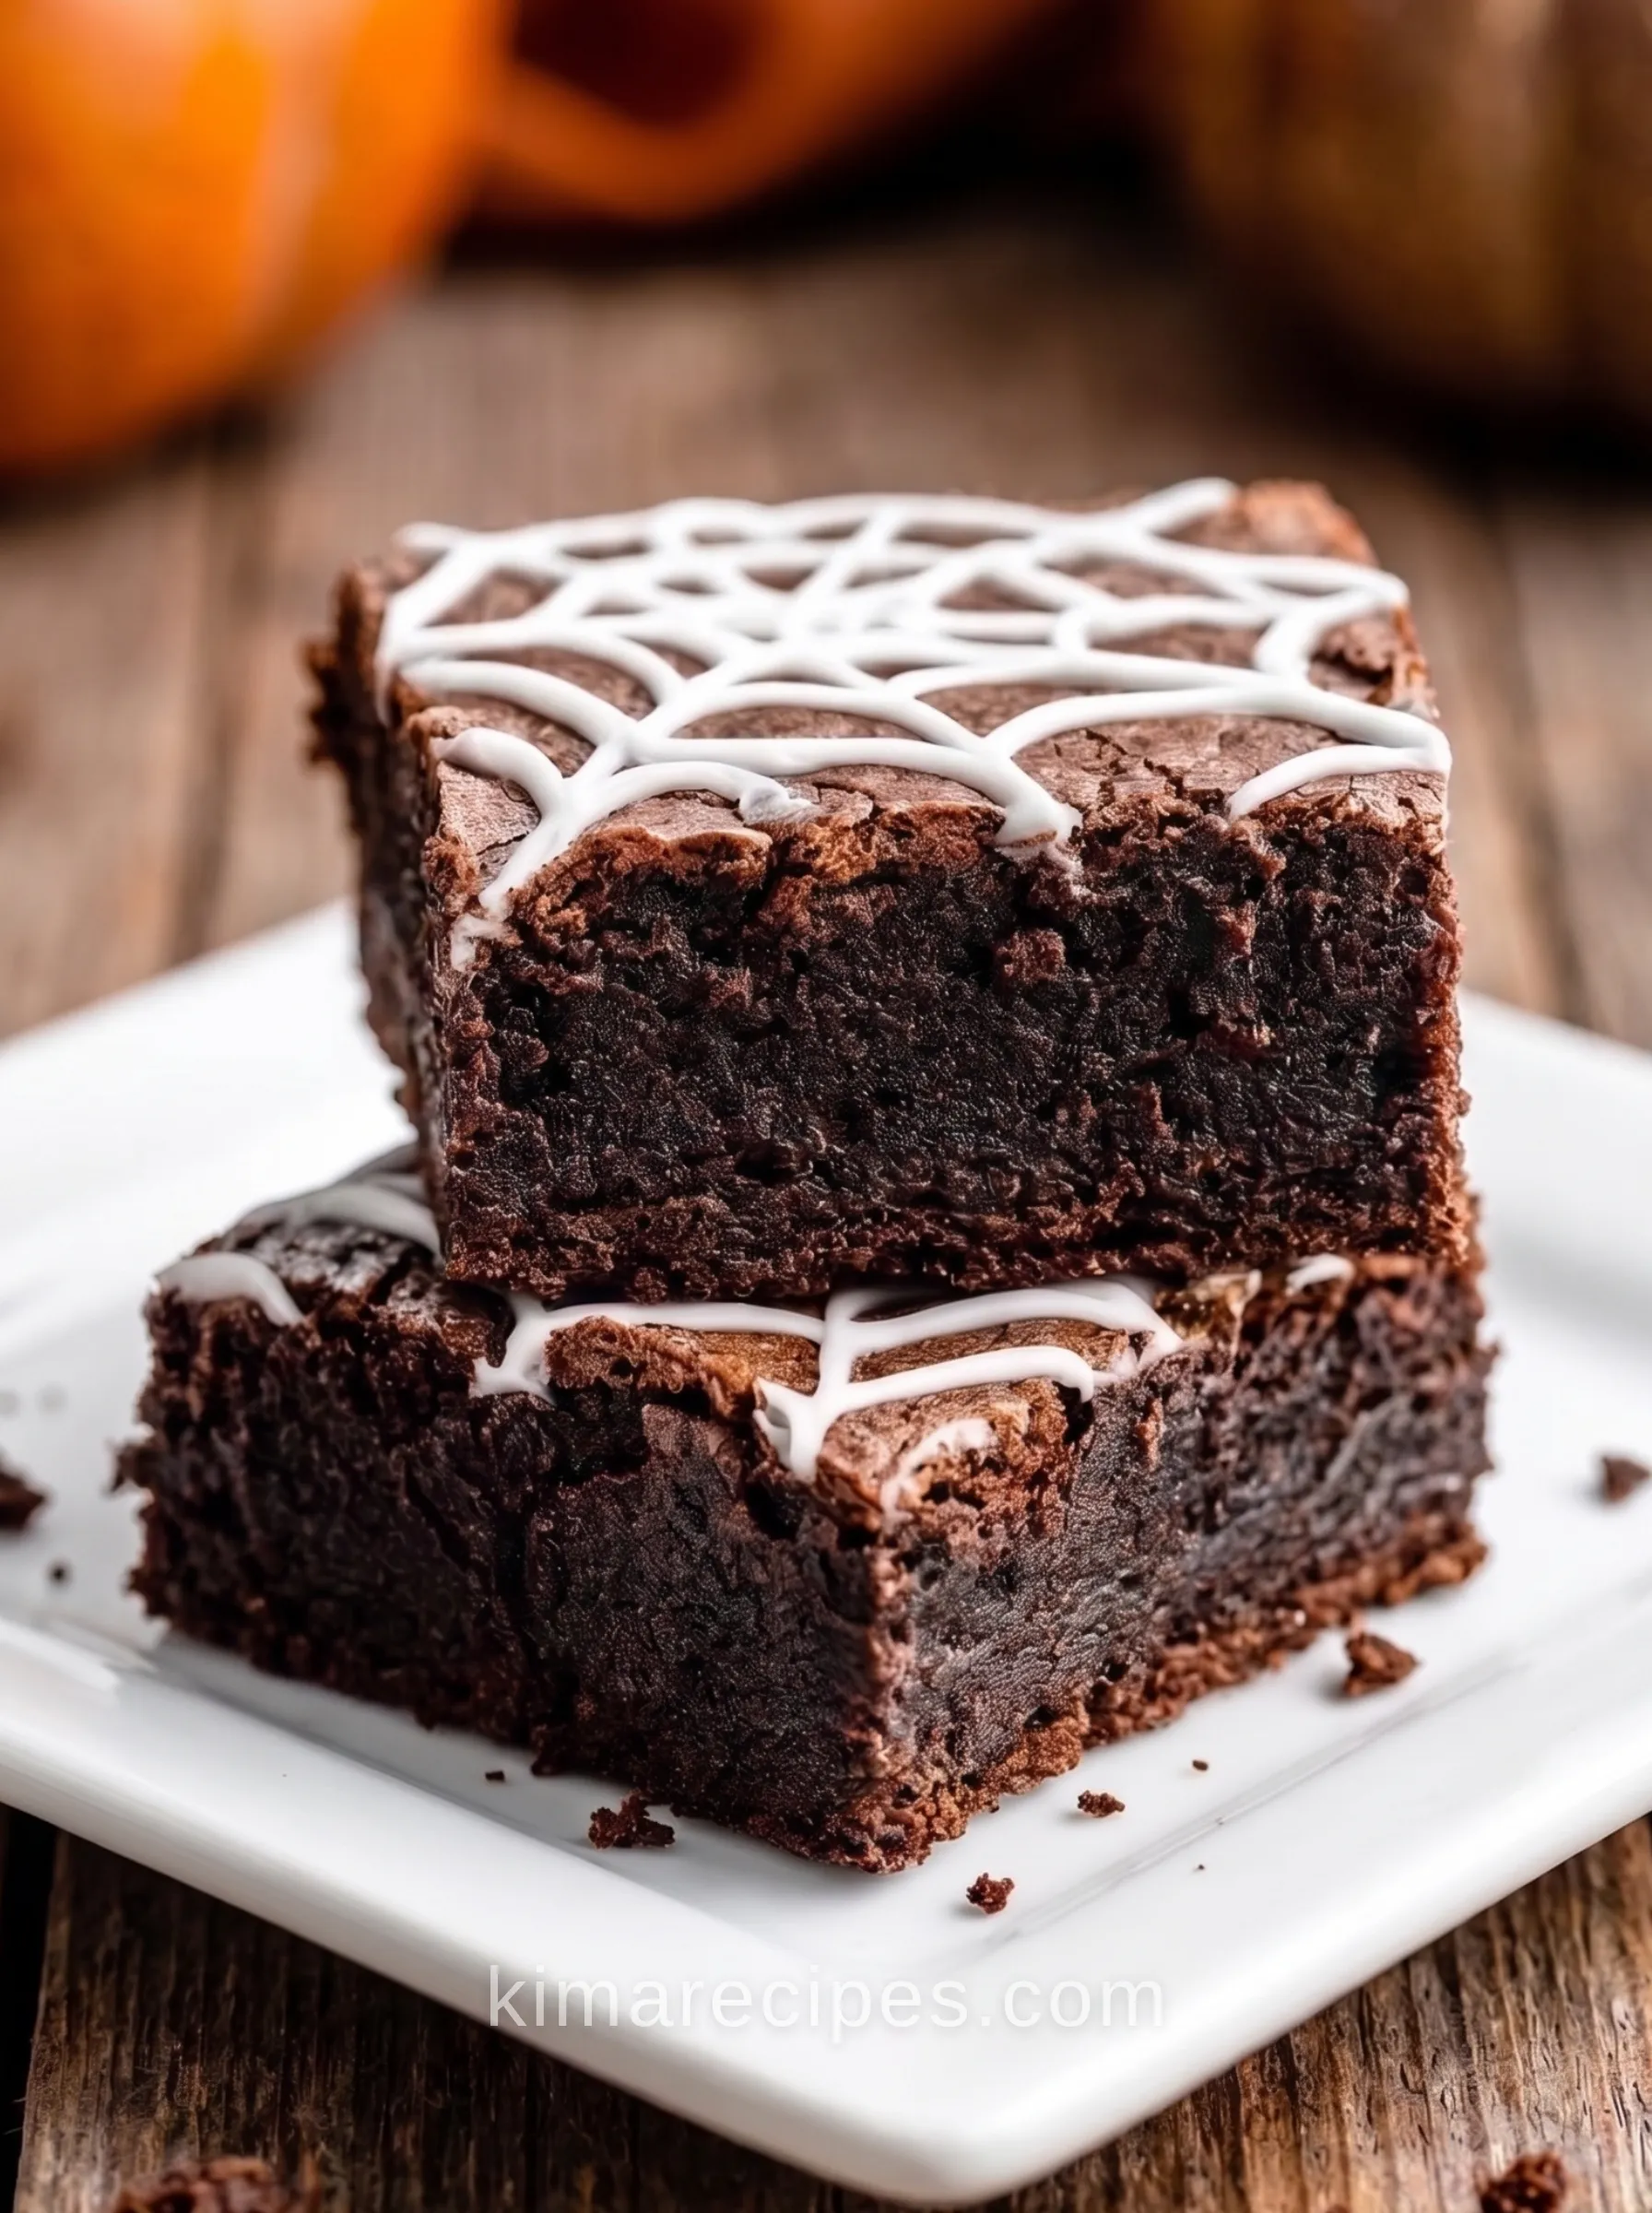
Create the Spiderweb
- Melt the chopped white chocolate in the microwave or in a double boiler until smooth.
- Transfer the melted white chocolate to a small piping bag or zip-top bag and snip off a very small corner.
- Pipe the white chocolate over the cooled brownies to begin forming the spiderweb pattern.
- Using a toothpick or another fine-tipped tool, gently drag lines from the center of the design toward the edges.
- Connect the lines with curved or wave-like lines to create the spiderweb effect.
Chill and Serve
- Refrigerate the decorated brownies for 15–20 minutes, or until the white chocolate has set.
- Lift the brownies from the pan using the parchment paper overhang.
- Cut into 12 squares and serve.
Notes
- Timing: The source lists a total time of 50 minutes, which accounts for the 20-minute prep and 30-minute bake only. The brownies must also cool completely and chill for 15–20 minutes after decorating, so the actual total time is longer.
- Cooling: Allow the brownies to cool completely before adding the white chocolate. Decorating warm brownies can cause the chocolate design to melt or lose definition.
- Fudgy texture: Remove the brownies when a toothpick inserted into the center comes out with a few moist crumbs rather than completely clean.
- Do not overmix: Fold the dry ingredients into the wet mixture only until combined to help maintain a tender, fudgy texture.
- White chocolate: Melt the white chocolate gently and stir frequently to prevent scorching.
- Piping: Snip only a tiny corner from the piping bag so the spiderweb lines remain thin and controlled.
- Spiderweb design: A toothpick or fine skewer works well for dragging and shaping the white chocolate into a web pattern.
- Chilling: Refrigerate for 15–20 minutes after decorating so the white chocolate firms before slicing.
- Storage: Store brownies in an airtight container at room temperature for a few days or refrigerate for longer storage.