The Best Fluffy Pancakes recipe you will fall in love with. Full of tips and tricks to help you make the best pancakes.
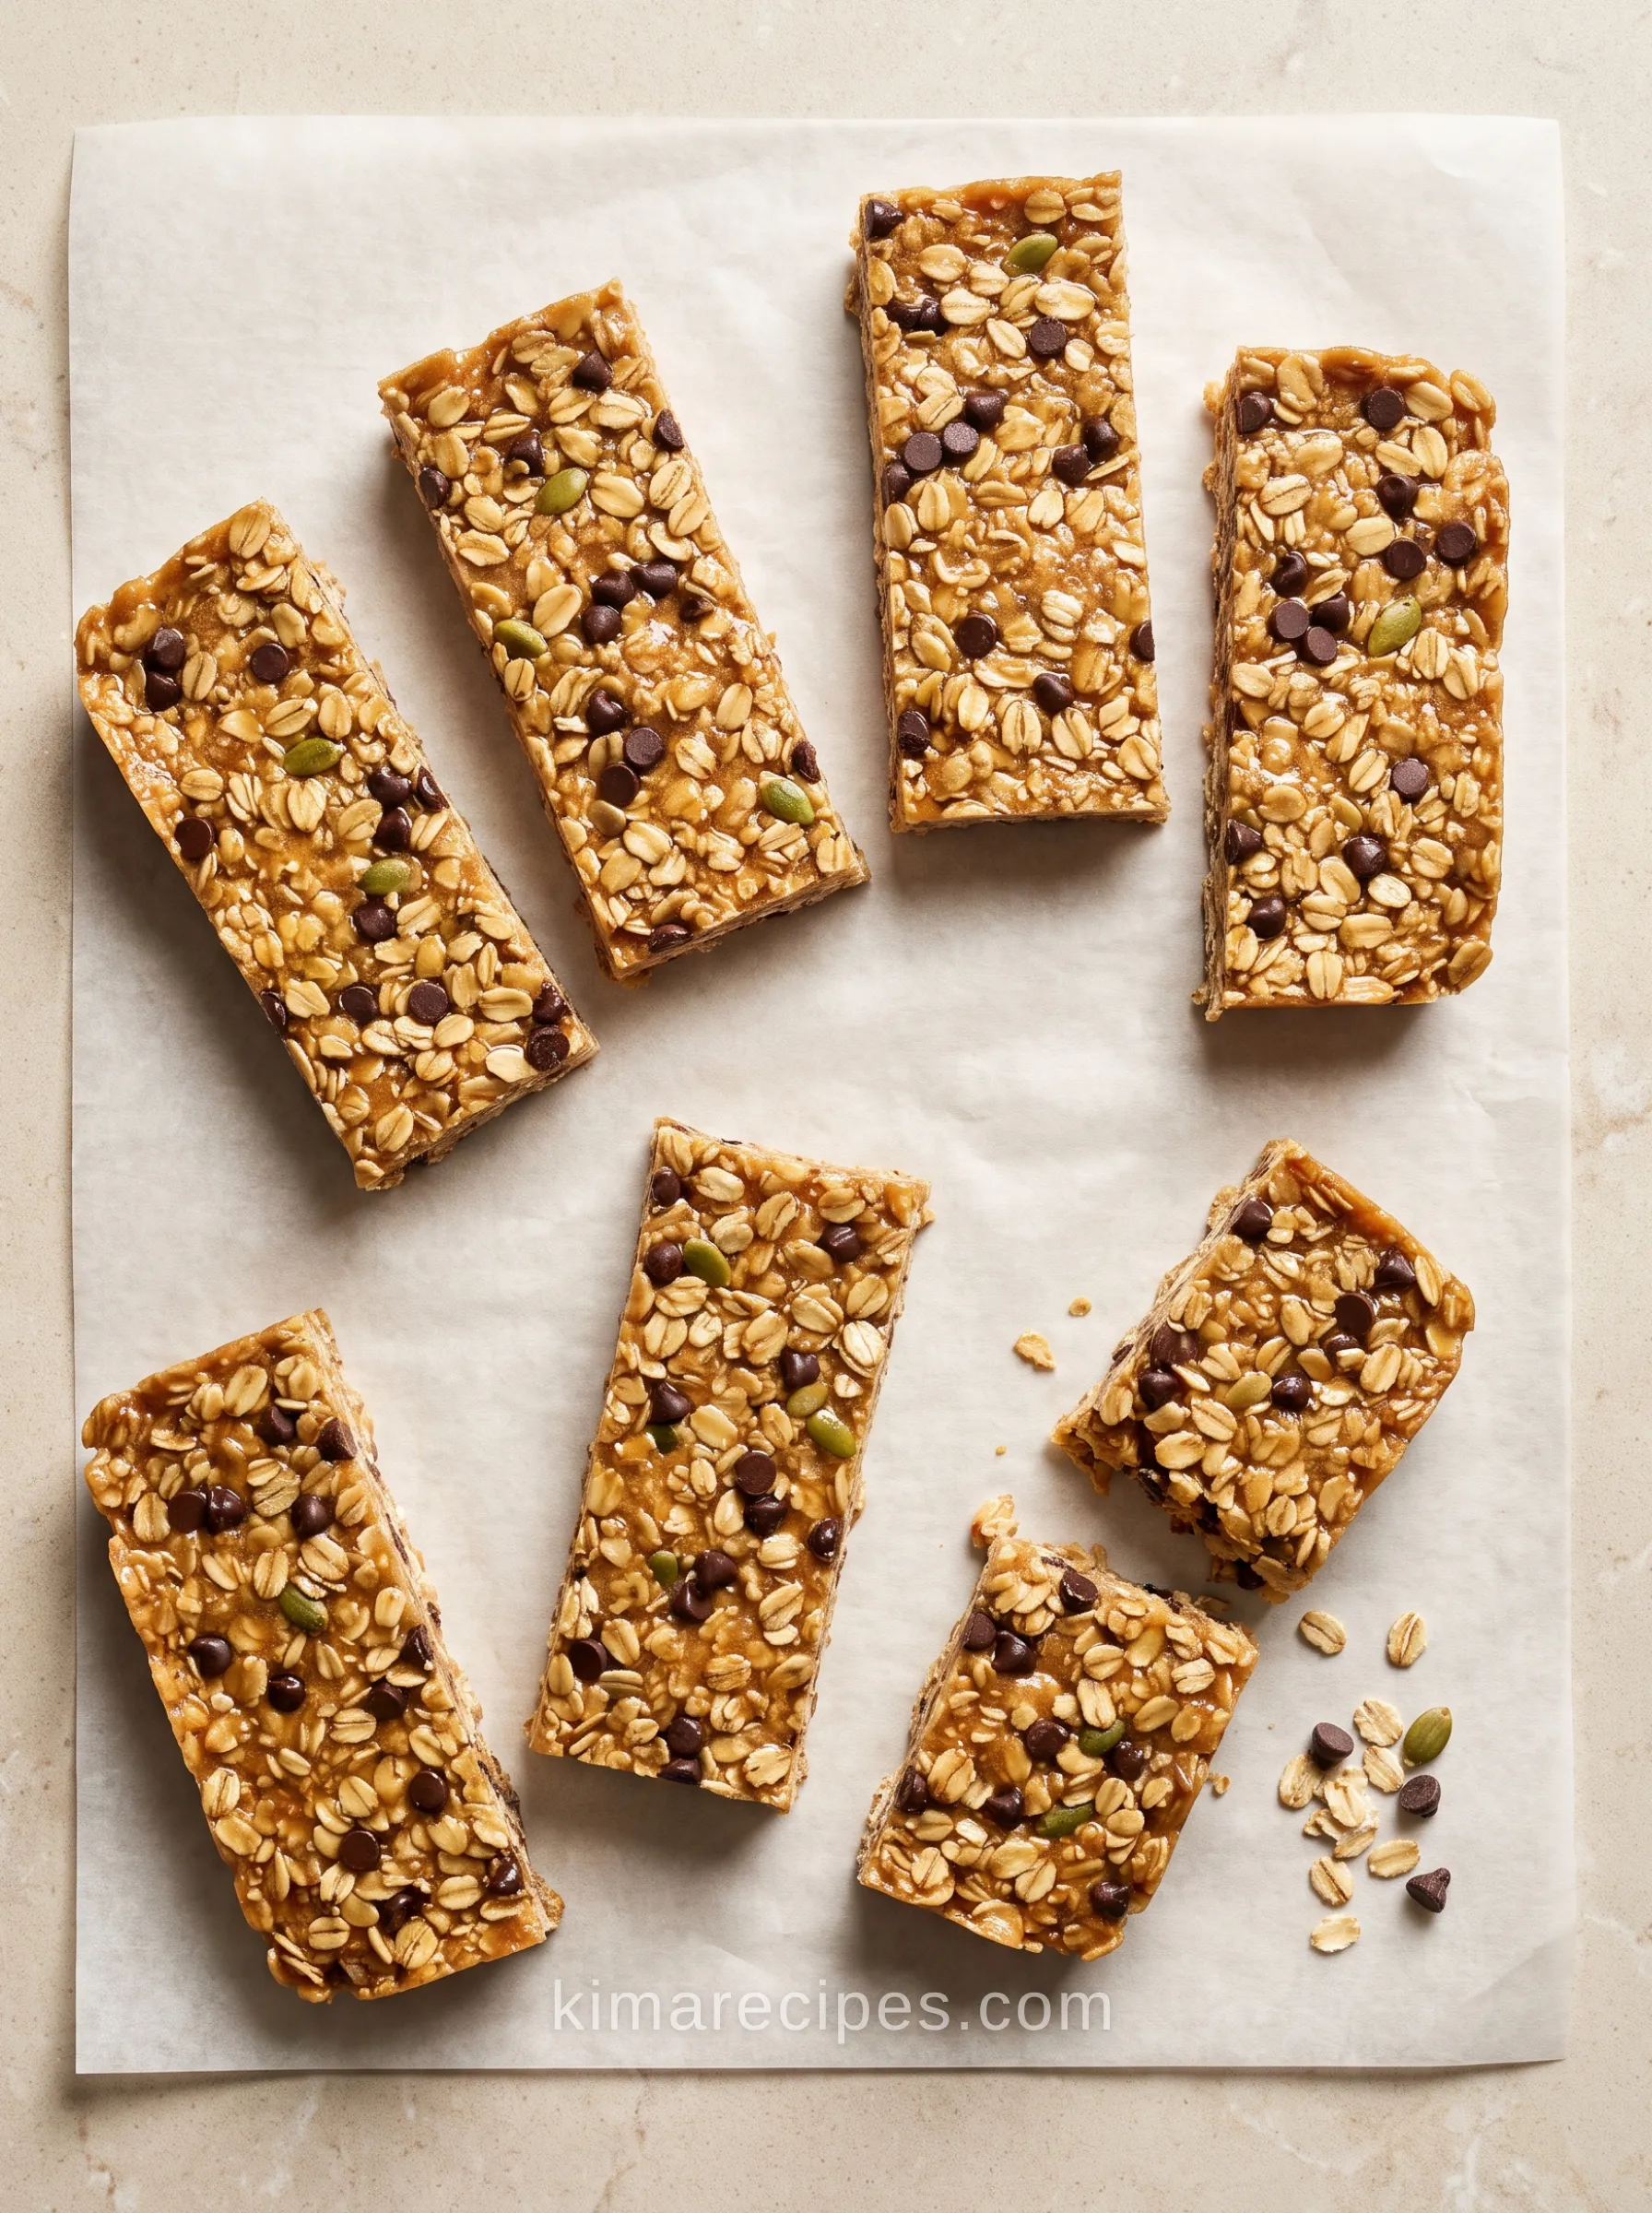
I made these the first time because the store-bought granola bars in my pantry had gone soft and weird, and I didn’t want to drive anywhere. Turns out you don’t need an oven at all. Just a bowl, a spoon, and patience for the fridge to do its thing.
These are the peanut butter and honey kind — sticky, chewy, held together without a single egg or a minute of baking. Five ingredients you probably already have, plus whatever mix-ins you want to throw in.
Why This Works
Honey is doing the actual structural work here, not just the sweetening. Maple syrup looks similar in the bottle but it doesn’t have the same sticky-when-cool quality honey has, so the bars won’t hold their shape when you slice them. Roll the mixture into balls instead if that’s what you’ve got.
Mini chocolate chips matter more than they sound like they should. Regular-sized chips create weak points — big smooth pockets where the oats can’t bind to each other. Mini chips (or chocolate you’ve chopped down yourself) spread the “glue” more evenly through the mixture, so every slice holds instead of crumbling at the first bite.
And the chilling step isn’t optional decoration. At room temperature the peanut butter-honey base is still soft enough to squish. An hour in the fridge and it firms up into something you can actually pick up in one hand.
Ingredients
- 1 cup very smooth creamy natural peanut butter, or cashew butter
- ⅔ cup honey
- 1 teaspoon vanilla extract
- Heaping ½ teaspoon sea salt
- 2½ cups whole rolled oats
- ⅓ cup mini chocolate chips
- 3 tablespoons pepitas, or crushed peanuts or cashews
Instructions
- Line an 8×8 baking pan with parchment paper.
- In a large bowl, stir together the peanut butter, honey, vanilla, and salt until smooth.
- Add the oats, chocolate chips, and pepitas or nuts.
- Stir until combined. It’ll look too dry at first — keep going, it comes together.
- Press the mixture firmly into the prepared pan.
- Lay a second piece of parchment on top and use the back of a measuring cup to flatten it down hard.
- Chill for at least 1 hour.
- Slice into bars.
- Store in the refrigerator.
Prep time: 5 minutes | Chill time: 1 hour | Serves: 8
Tips
- Press harder than feels necessary in step 5.
- Natural peanut butter, the kind that separates in the jar, blends smoother than the no-stir shelf-stable stuff. Stir it well before you start measuring.
- Cold bars slice cleaner than room-temp ones. If the knife is dragging, the bars need more time in the fridge, not a sharper knife.
- Don’t skip the second parchment sheet in step 6 — pressing straight down with a measuring cup on bare mixture just makes a sticky mess on the cup.
Variations
Swap the chocolate chips and pepitas for whatever mix-ins you like — dried cranberries, sunflower seeds, chopped almonds all work the same way structurally, since they’re not the ingredient doing the binding.
For a vegan version, use brown rice syrup instead of honey. I wouldn’t bother with maple syrup for bars — it’s the one substitution here that actually changes the result, not just the flavor. Save maple syrup for energy balls instead, where you’re not relying on it to set firm.
For gluten-free, use certified gluten-free oats. Regular oats are naturally gluten-free but get cross-contaminated in processing, so check the label if that matters for you.
Make-Ahead
These keep in the fridge, sliced or unsliced, for about a week. They don’t do well left out on the counter for more than a couple hours; the honey base softens and the bars lose their shape. Don’t try to make these ahead and store at room temperature the way you would oven-baked granola bars — they need the fridge.
FAQ
Can I make these without a food processor?
Yes — there’s no food processor involved at any point. Everything is stirred by hand in a bowl.
Why are my granola bars falling apart?
Usually one of two things: not enough honey-to-oats ratio holding things together, or not pressed firmly enough into the pan before chilling. Press harder than you think you need to in step 5, and don’t skip the chilling time — bars sliced before they’ve fully firmed up will crumble no matter how well you pressed them.
Can I use quick oats instead of rolled oats?
You can, but I wouldn’t. Quick oats break down more and make the bars denser and slightly mushy instead of chewy. Whole rolled oats hold their shape and give you actual texture to bite into.
Do I need to use mini chocolate chips specifically?
For the best texture, yes. Regular chips create big smooth spots that weaken the bar. If you only have regular-sized chocolate, chop it down yourself before mixing in.
Closing Thoughts
These have become the thing I hand to on the way out the door, since they don’t crumble in a bag the way most no-bake bars do. Cut them small and they work fine as a topping crumbled over yogurt too, if you end up with a broken piece or two from slicing.
Homemade Granola Bars
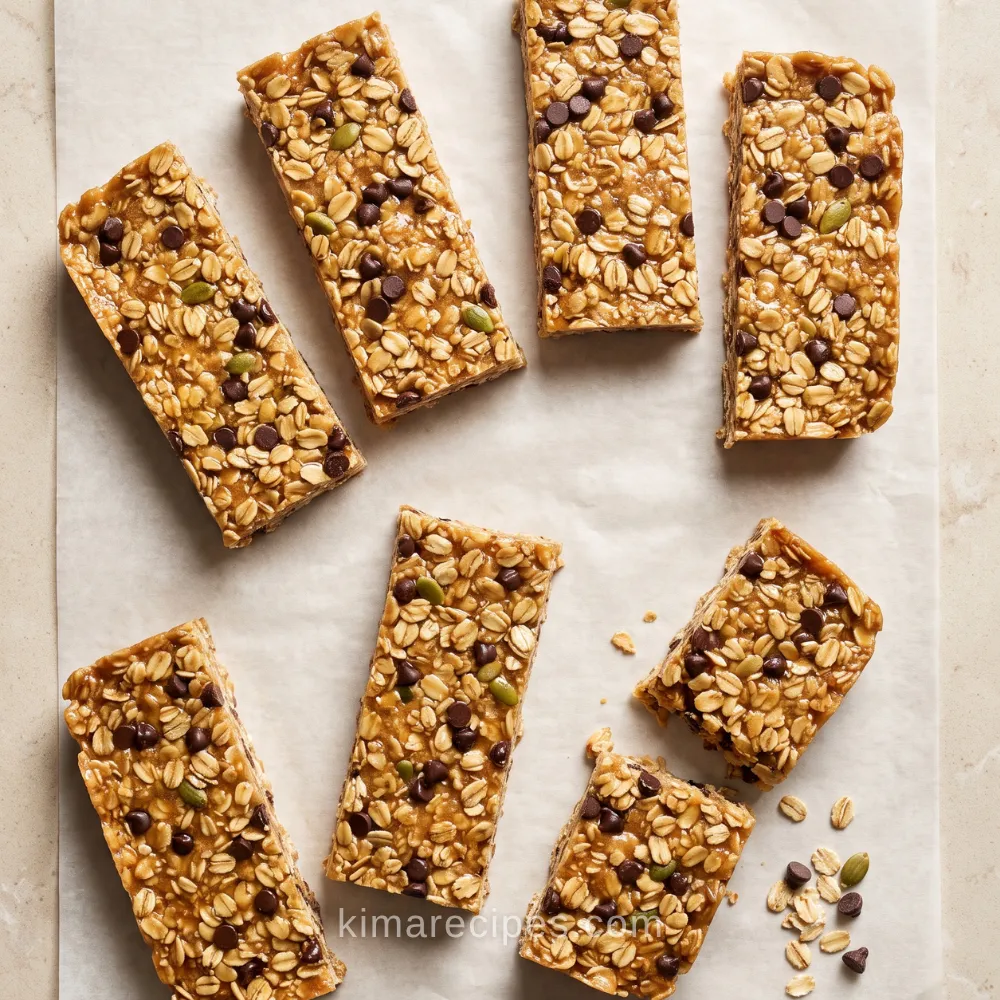
These easy Homemade Granola Bars are made with creamy peanut butter, honey, rolled oats, mini chocolate chips, and crunchy pepitas. They require no baking, take only minutes to prepare, and make a delicious meal-prep breakfast or snack.
Ingredients
Equipment
Method
Prepare the Pan
- Line an 8×8-inch baking pan with parchment paper, leaving some overhang to make the bars easier to remove.
Mix the Granola Bar Mixture
- In a large mixing bowl, stir together the peanut butter, honey, vanilla extract, and sea salt until completely smooth.
- Add the rolled oats, mini chocolate chips, and pepitas or chopped nuts.
- Stir until thoroughly combined. The mixture may seem dry at first, but continue stirring until all the oats are evenly coated and the mixture holds together.
Press and Chill
- Transfer the mixture to the prepared baking pan.
- Press the mixture very firmly and evenly into the pan.
- Place a second sheet of parchment paper over the mixture and use the flat bottom of a measuring cup to compress and smooth the surface.
- Refrigerate for at least 1 hour, or until the mixture is firm enough to slice cleanly.
Slice and Store
- Use the parchment-paper overhang to lift the chilled mixture from the pan.
- Slice into 8 bars using a sharp knife.
- Store the granola bars in an airtight container in the refrigerator.
Notes
- Use smooth nut butter: Very smooth, creamy natural peanut butter or cashew butter helps bind the bars properly. Dry or stiff nut butter may make the mixture crumbly.
- Press firmly: Compressing the mixture tightly into the pan is essential for bars that hold their shape.
- Chocolate chips: Mini chocolate chips work best because they distribute evenly and help the bars remain cohesive. If using regular chocolate chips, chop them into smaller pieces first.
- Nut options: Use pepitas, crushed peanuts, chopped cashews, or another finely chopped nut.
- Gluten-free option: Use certified gluten-free rolled oats.
- Vegan option: Replace the honey with brown rice syrup. Brown rice syrup is sticky enough to help the bars hold together.
- Maple syrup: Maple syrup is generally not sticky enough to create firm bars. When using maple syrup, roll the mixture into energy balls instead.
- Chilling: Chill for at least 1 hour before slicing. Longer chilling will make the bars firmer and easier to cut.
- Storage: Store the bars in an airtight container in the refrigerator for up to 1 week.
- Freezing: Freeze individually wrapped bars in a freezer-safe container for up to 3 months. Thaw in the refrigerator before serving.