The Best Fluffy Pancakes recipe you will fall in love with. Full of tips and tricks to help you make the best pancakes.

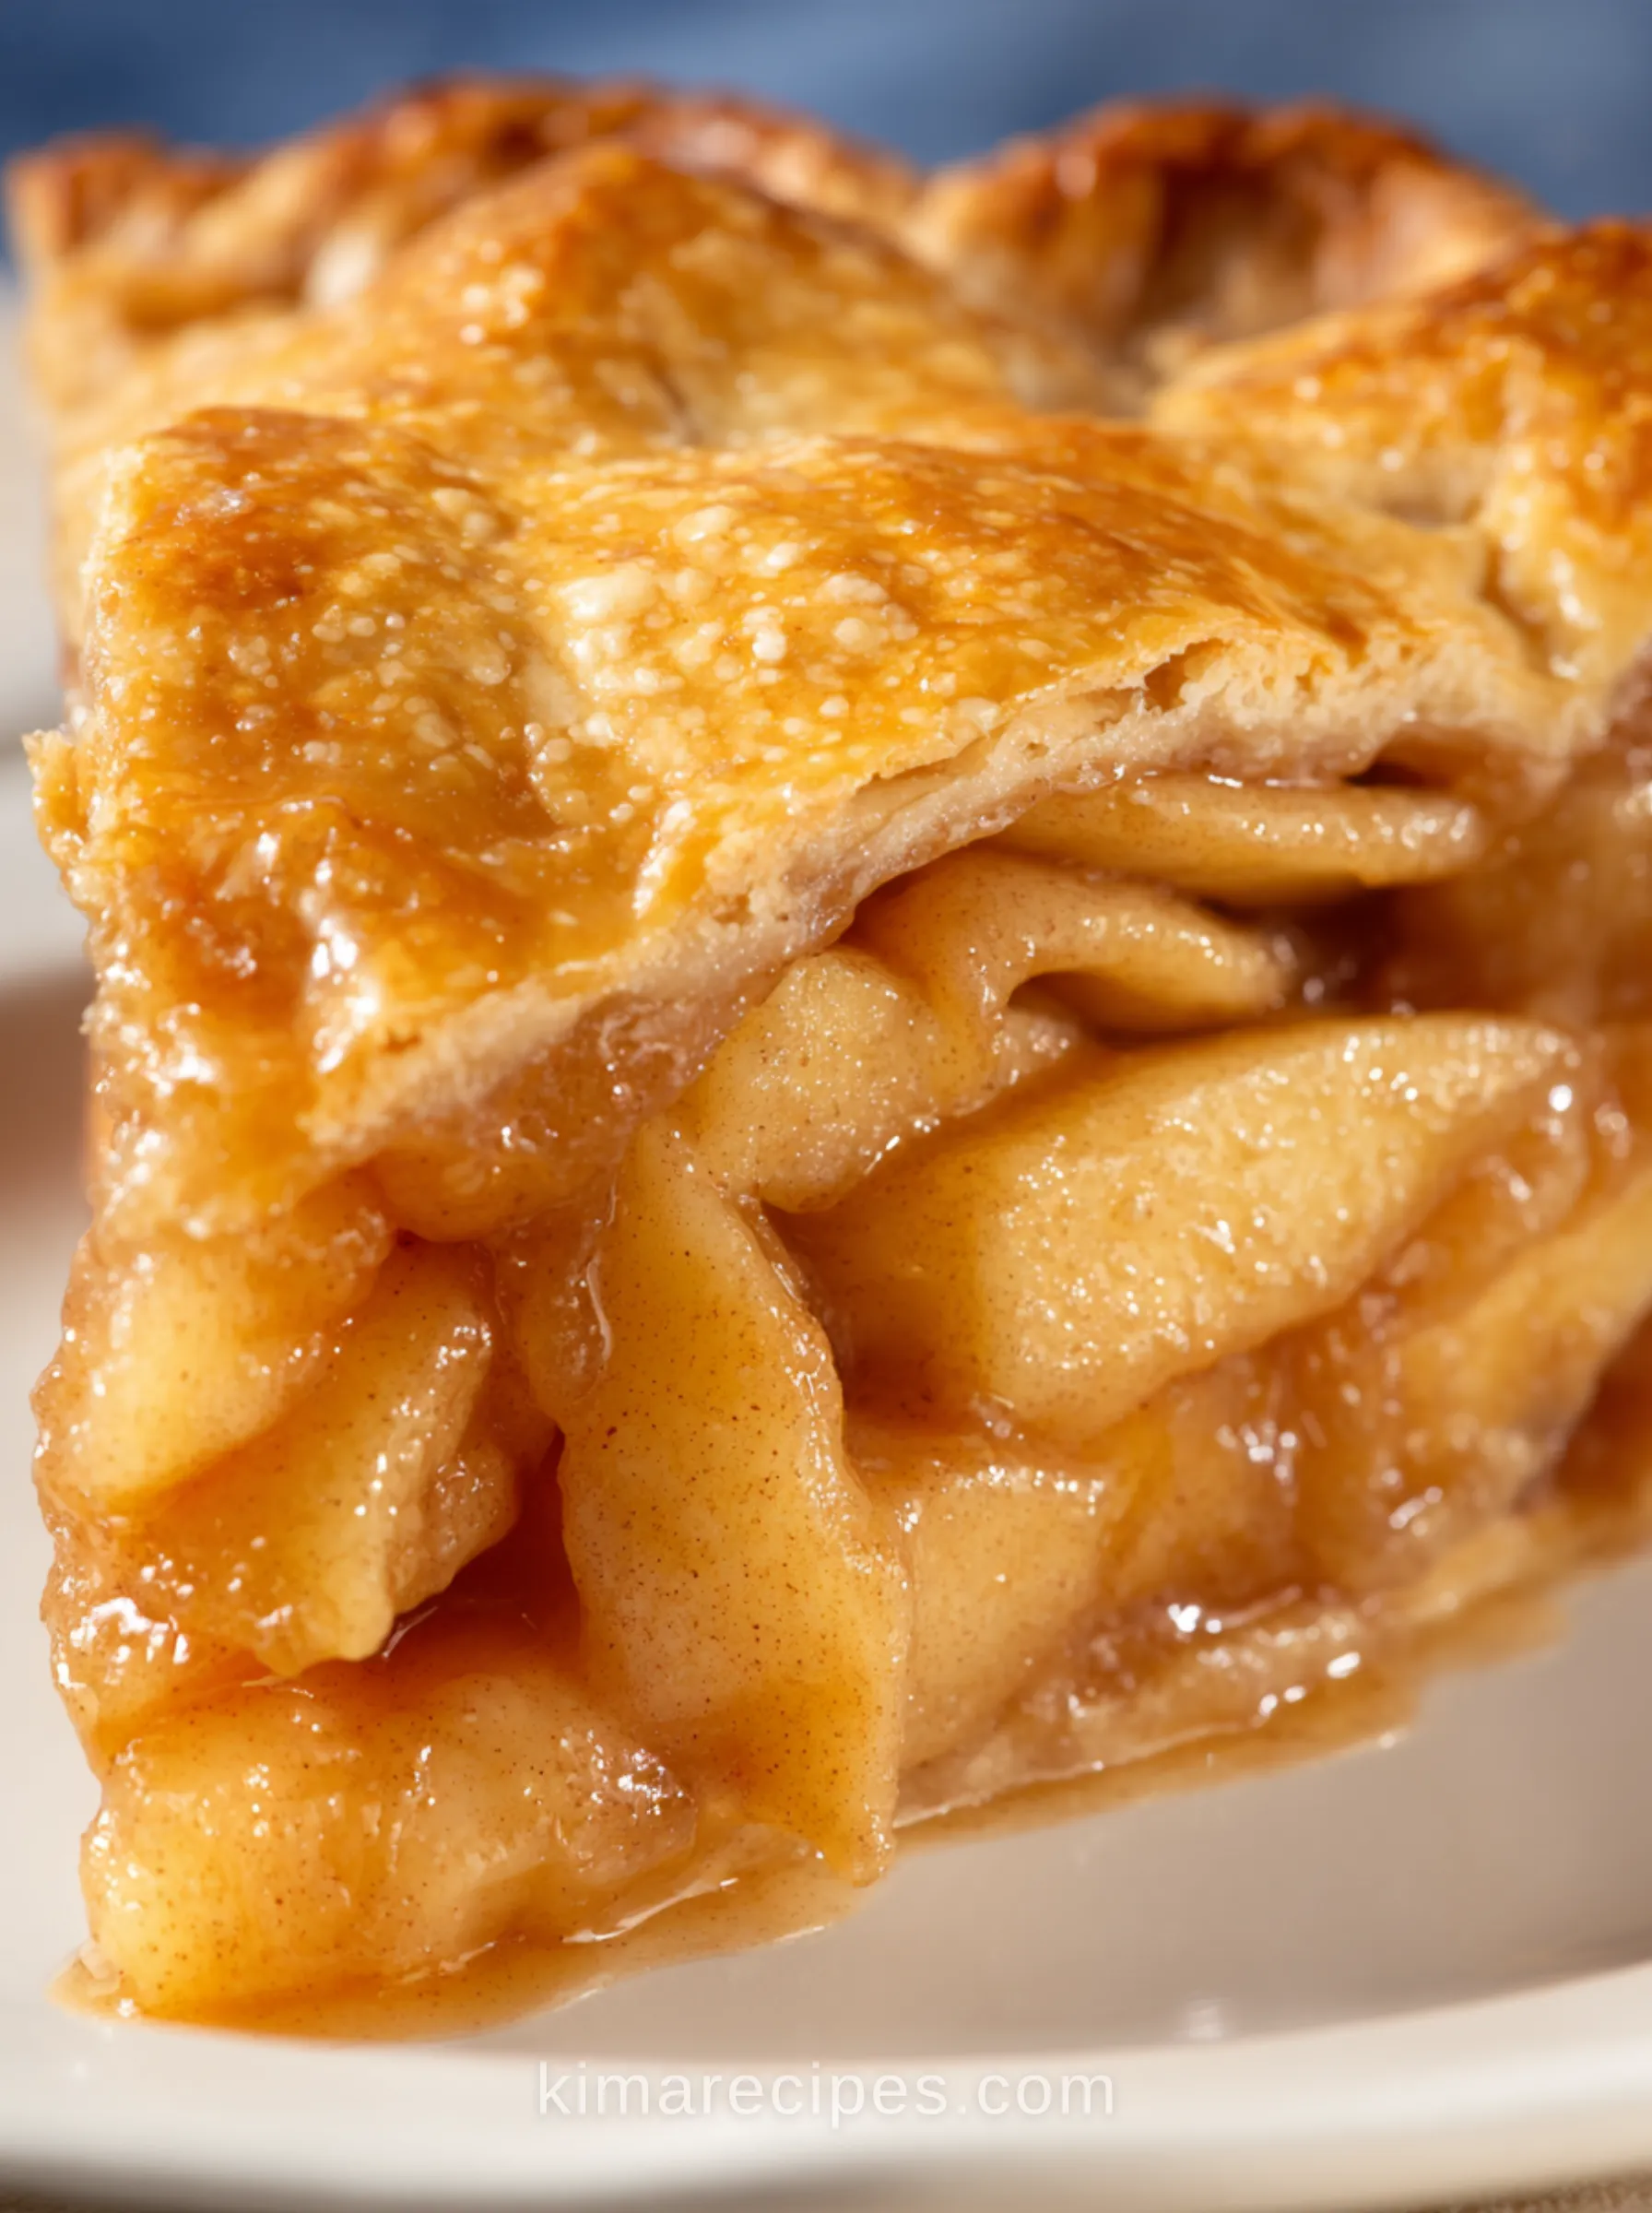
I burned through more sad, watery apple pies than I want to admit before I figured out the one thing that actually fixes them: cook the filling on the stove before it ever sees the oven.
Most apple pie recipes ask you to trust raw apples in a hot oven for over an hour. Then you just hope for the best. Sometimes the middle’s still crunchy. Sometimes the whole thing collapses into a gap between fruit and crust the second you slice it. Cooking the apples first solves both problems. Once you’ve done it this way, going back feels like a step backward.
Why This Works
Raw apples shrink a lot as they cook — sometimes by a third of their volume. Bake them raw inside a sealed crust, and that shrinkage happens after the top is already set. That’s exactly how you get that ugly dome-then-collapse gap. Pre-cooking the apples on the stovetop lets that shrinkage happen first. So the crust settles snugly around the fruit instead of over an air pocket.
It also means you control doneness directly. You can see and taste the apples right there in the skillet — fork-tender but still holding their shape. No guessing through an opaque crust. Plus, the filling goes into the pie already thickened into a caramel-like sauce. You’re not waiting on flour to activate in the oven while the crust over-browns.
Chilling the filling before it goes into the crust matters too. Warm filling starts melting the butter in your dough on contact. That’s how you end up with a greasy, dense bottom crust instead of a flaky one.
Ingredients
For the crust:
- 1 homemade double pie crust (2 sheets of pie dough)
For the filling:
- 1/4 teaspoon lemon zest
- Juice from half a lemon (about 2 tablespoons)
- 5 pounds apples (before peeling and coring — about 11 large apples)
- 3/4 cup brown sugar, packed
- 3/4 cup granulated sugar
- 5 tablespoons all-purpose flour
- 1/4 teaspoon kosher salt
- 1 1/2 teaspoons cinnamon
- 3/4 teaspoon nutmeg
- 1/2 teaspoon cardamom (optional)
- 1 teaspoon vanilla
For finishing:
- 1 tablespoon milk, for brushing
- 1 tablespoon beaten egg, optional, for brushing
- 1 tablespoon raw sugar, for topping
Instructions
- Zest 1/4 teaspoon lemon peel into a 12-inch high-sided skillet using a microplane.
- Add the juice from half the lemon (about 2 tablespoons) to the skillet.
- Peel and slice the apples into 1/8-inch pieces. Add them to the lemon juice as you go, stirring occasionally so they don’t brown.
- Set the skillet over medium heat once all the apples are in.
- Add the brown sugar, granulated sugar, flour, salt, cinnamon, nutmeg, and cardamom (if using). Stir gently — you don’t want to break the apple slices apart.
- Once everything’s moistened with no dry pockets of flour or spice, cover and cook 20 minutes. Stir every 3 minutes or so, putting the lid back each time.
- Keep cooking until the apples are fork-tender but still holding their shape. If they start sticking, add water a tablespoon at a time — sparingly.
- Off the heat, stir in the vanilla.
- Spread the filling — caramel and all — onto a half sheet pan or any rimmed pan so it cools evenly.
- Cool completely: about 30 minutes in the fridge or freezer, or a couple hours at room temp in the pan.
- Roll out one sheet of dough into a deep 9-inch pie dish, letting the excess hang over the edge.
- Scrape in all the chilled filling.
- Top with the second crust — lattice or full sheet, your call.
- Fold the overhang in, crimp the edge, and if you went with a full top crust, vent it a few times with a sharp knife.
- Chill the assembled pie 20-30 minutes in the fridge or freezer.
- Put a baking sheet on the center rack and preheat the oven to 425°F, letting it heat for 20-25 minutes.
- Right before baking, brush the crust with milk, egg, or both.
- Sprinkle raw sugar (or regular sugar) over the top.
- Set the pie directly onto the hot baking sheet and bake 15 minutes, until the edge is just turning light brown.
- While that’s happening, cut a circle out of a square of foil to shield the crust edge.
- Drop the oven to 350°F, pull the pie, and loosely crimp the foil ring around the edge.
- Return it to the oven and bake another 40-45 minutes at 350°F.
- It’s done when the edges are deep brown, the center is light golden, and — if you used a lattice — the filling is visibly bubbling.
- Cool on a wire rack for about 4 hours before slicing.
Prep Time, Cook Time & Servings
- Prep: 20 minutes
- Cook: 1 hour 20 minutes
- Resting: 4 hours
- Total: 5 hours 40 minutes
- Servings: 10
- Equipment: 9-inch pie dish, microplane grater, baking sheet
Tips
- Use a mix of apples, not one variety. Granny Smith, Gala, and Golden Delicious together give you structure and sweetness. An all-Granny Smith pie ends up sharp with no depth.
- Peel and slice apples one at a time straight into the lemon juice. Let a whole bowl of peeled apples sit unprotected and you’ll be picking brown edges out of your filling.
- The apples won’t soften any further in the oven — the stovetop step is your only shot at texture, so cook them exactly to the bite you want.
- Skipping the 20-30 minute chill on the assembled pie is how you end up with a crust that bakes flat instead of flaky. Don’t skip it even if you’re short on time.
- Milk gives you a browned but matte crust. Egg wash gives shine and deeper color. [PLACEHOLDER: which one Kima actually prefers and why, from real side-by-side results]
Variations
Cardamom is listed as optional, and it’s worth trying once, but I’d skip it if you’re serving people who associate apple pie with a very classic flavor — it reads as unexpected rather than “better” to a lot of palates. A pinch more cinnamon instead is the safer move if you want to punch up the spice without changing what the pie tastes like.
Swapping in a crumb topping instead of a lattice works fine structurally, since the filling is already thickened before baking, but you’ll lose the foil-shielding step’s usefulness since crumb toughens differently than crust at the edges.
Make-Ahead Notes
The filling can be made and refrigerated up to the point where it goes into the crust. That part holds up fine for a day or two. What doesn’t work is assembling and freezing the whole raw pie unbaked. The fully cooked filling behaves differently going into a freeze-thaw cycle than a raw one would, so you’ll get uneven texture on baking. If you want to get ahead, cook and chill the filling. Then assemble and bake fresh.
FAQ
Why is my apple pie always watery?
Almost always because the apples went in raw and released their liquid mid-bake, with nowhere for it to go but out the vents. Cooking the filling first, like this recipe does, removes that problem entirely.
Can I use store-bought pie crust?
Yes. It won’t hold up quite as well through the double-chill step (it’s thinner and more prone to tearing), but it bakes fine — just handle it a little more gently when transferring to the dish.
Do I really need to chill the pie twice?
Yes, and it’s the step people skip first when they’re rushing. The filling gets chilled so it doesn’t melt the crust’s butter on contact; the assembled pie gets chilled again so the crust holds its shape and layers in the oven instead of slumping.
What’s the point of the hot baking sheet?
It gives the bottom crust an instant blast of heat. That way it starts cooking immediately instead of sitting on room-temperature metal. That’s what keeps the bottom from going pale and underbaked while the top browns.
Closing Thoughts
This one’s dense enough on its own. But if you’ve got extra filling — and with 5 pounds of apples, there’s a decent chance you will — save it separately. Warm it up over vanilla ice cream instead of cramming it all into one crust.
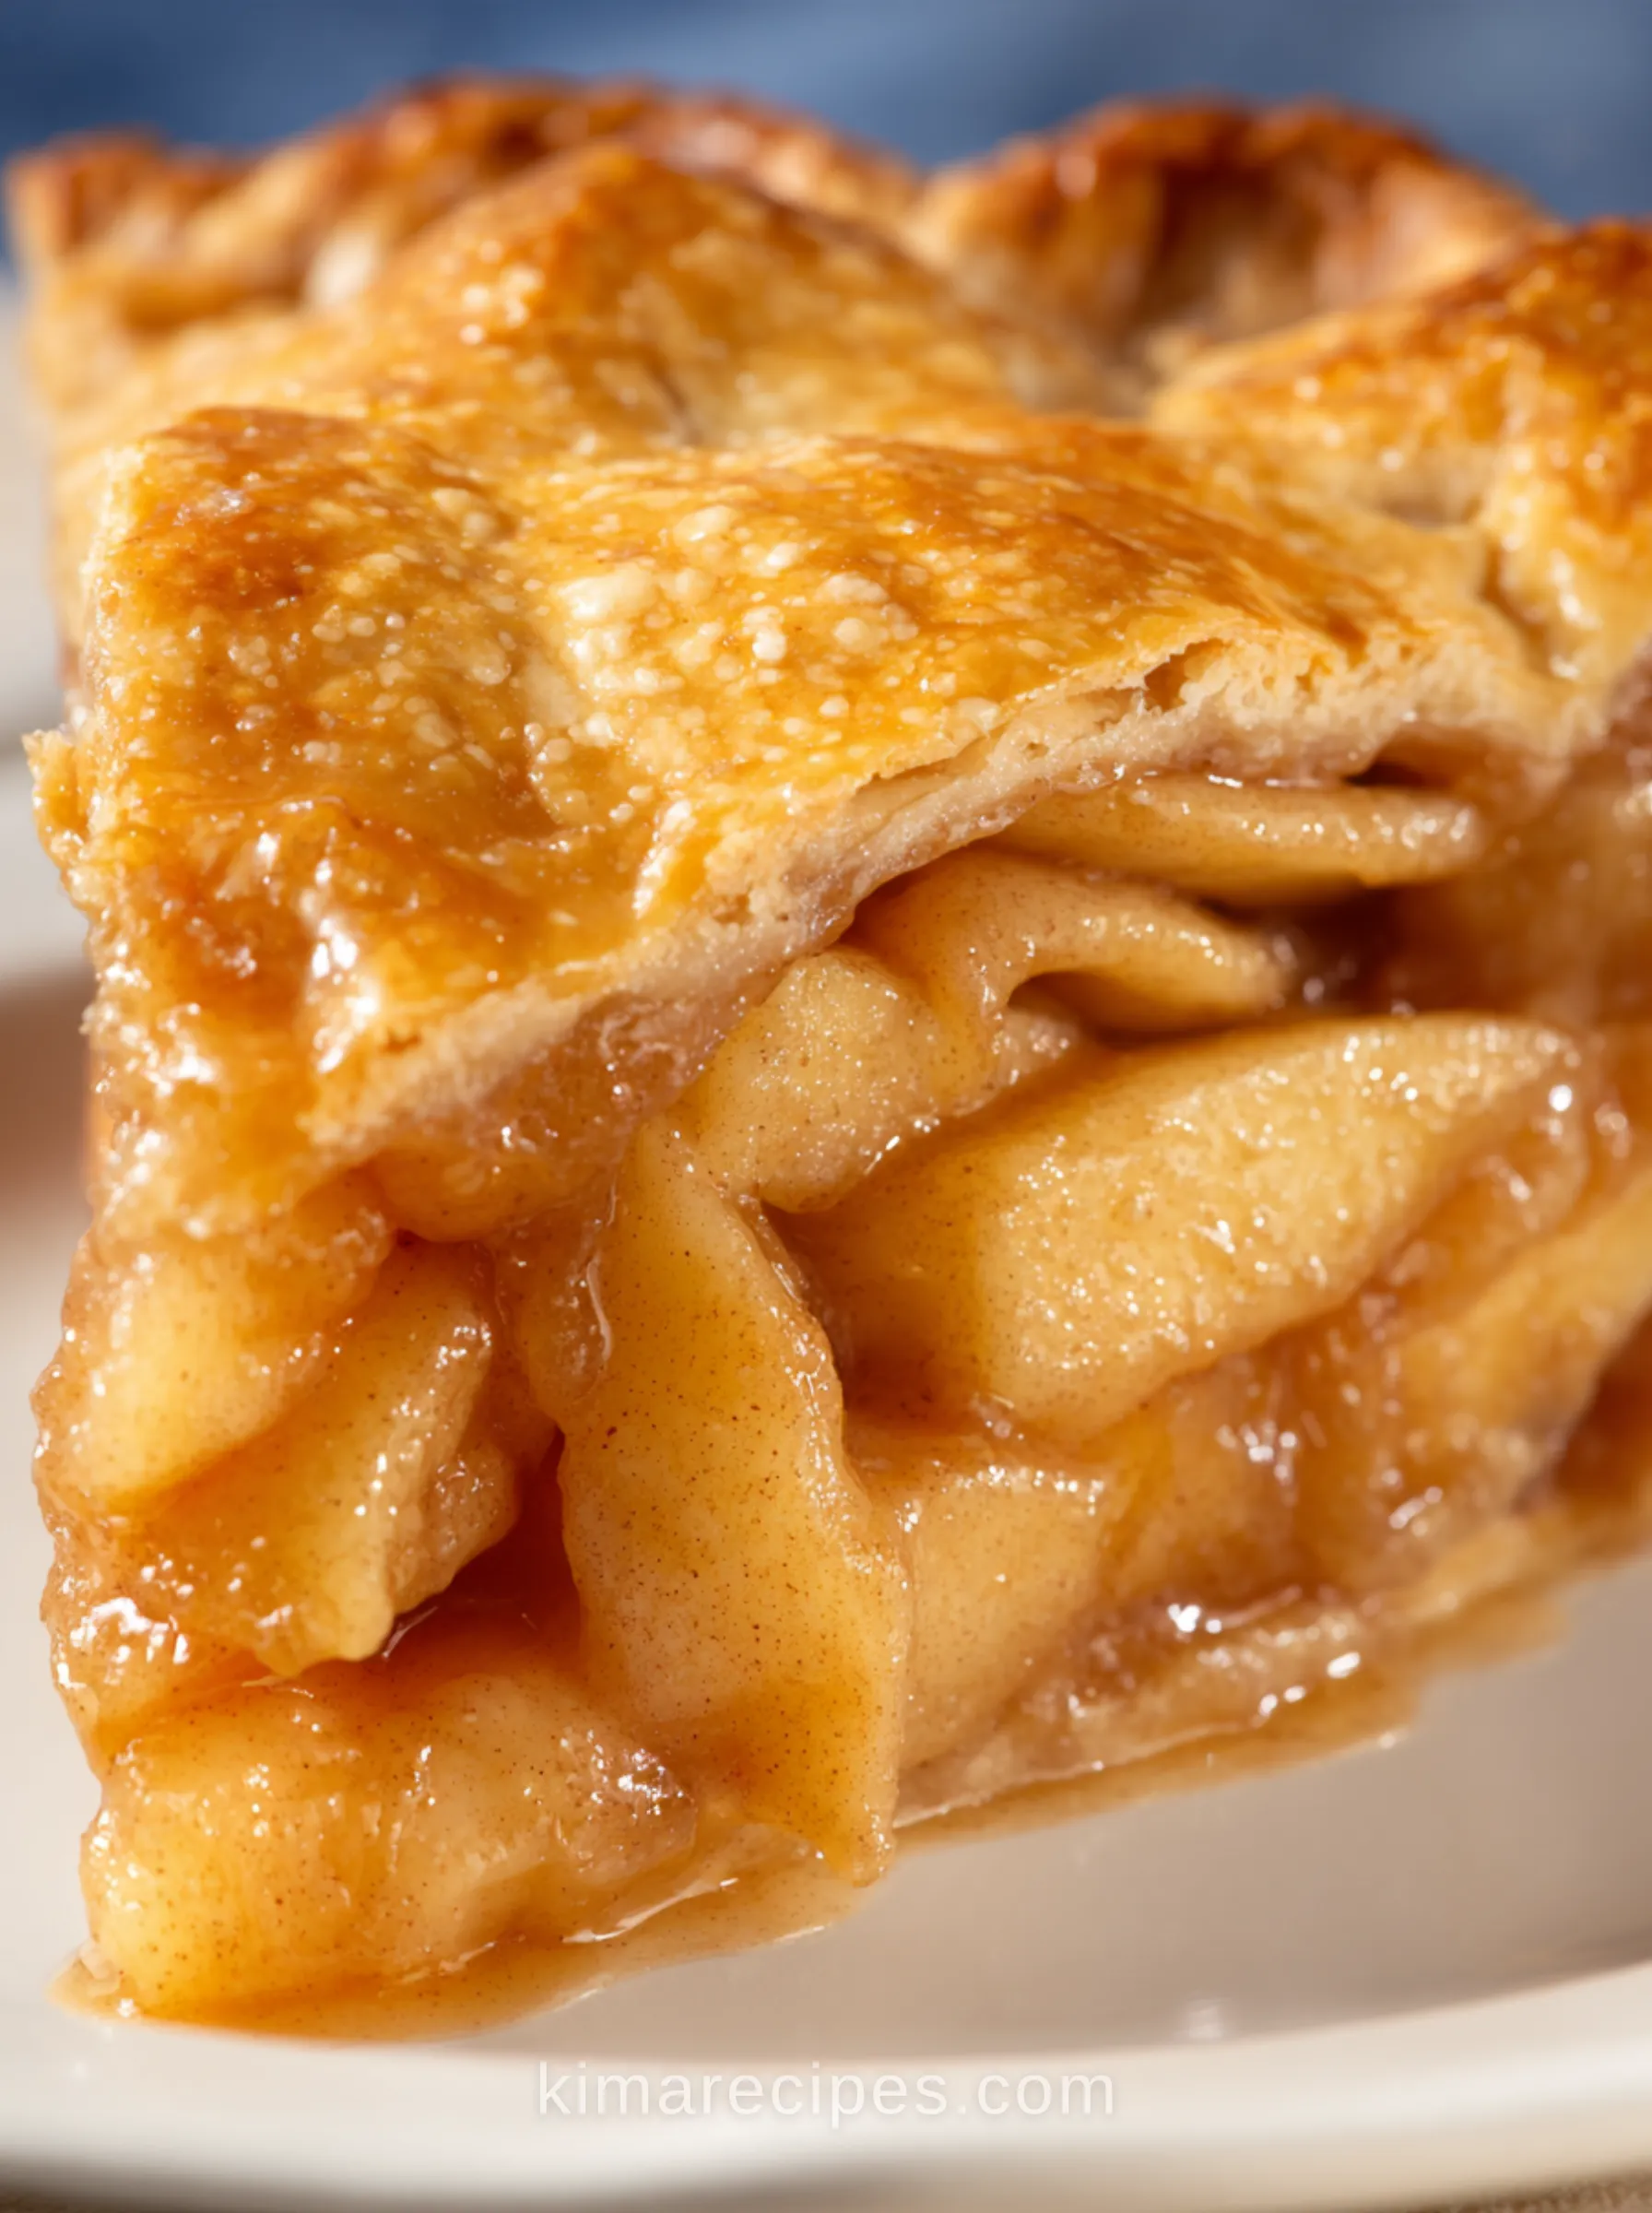
Best Recipe for Apple Pie
This homemade Apple Pie features layers of tender cinnamon-spiced apples in a rich caramel-like filling tucked inside a flaky double pie crust. With a golden, crisp crust and perfectly set apple filling, it is a classic dessert for holidays, fall gatherings, and family dinners.
Ingredients
Equipment
Method
Prepare the Apple Filling
- Choose approximately 5 pounds of apples, about 11 large apples.
- Use a Microplane grater to zest 1/4 teaspoon lemon peel directly into a 12-inch high-sided skillet.
- Add about 2 tablespoons of fresh lemon juice to the skillet.
- Peel and core the apples, then slice them approximately 1/8-inch thick. Add the apple slices to the lemon juice as you work, stirring occasionally to coat and help prevent browning.
- Once all the apples are prepared, place the skillet over medium heat.
- Add the brown sugar, granulated sugar, flour, kosher salt, cinnamon, nutmeg, and optional cardamom.
- Stir gently until the apples are evenly coated, taking care not to break the slices.
- Once the mixture is moistened and no dry patches of flour or spices remain, cover the skillet and cook for about 20 minutes. Stir gently about every 3 minutes and replace the lid each time.
- Cook until the apples are fork-tender but still hold their shape. If they begin sticking to the pan, add about 1 tablespoon of water as needed, using as little as possible.
- Remove the skillet from the heat and stir in the vanilla extract.
- Transfer the apples and all of the caramel-like filling to a rimmed baking sheet or another shallow pan. Spread them out and chill for about 30 minutes in the refrigerator or freezer, or leave at room temperature for a couple of hours, until completely cool.
Assemble the Pie
- Roll out one sheet of pie dough and fit it into a deep 9-inch pie dish, leaving the excess dough hanging over the edges.
- Scrape all of the completely cooled apple filling and its juices into the prepared pie crust.
- Top with the second pie crust, either as a lattice or as a full top crust.
- Fold the edges inward and crimp to seal. If using a full top crust, cut several vents in the top with a sharp knife.
- Chill the assembled pie in the refrigerator or freezer for 20 to 30 minutes.
Bake the Apple Pie
- Place a baking sheet on the center rack of the oven and preheat the oven to 425°F (218°C). Allow the baking sheet to heat for at least 20 to 25 minutes.
- Immediately before baking, brush the chilled pie crust with milk, beaten egg, or a combination of both.
- Sprinkle the crust evenly with raw sugar or granulated sugar.
- Place the chilled pie on the preheated baking sheet and bake at 425°F for 15 minutes, until the outer crust begins turning light golden brown.
- Meanwhile, prepare a square of aluminum foil with a circle cut from the center to create a shield for the outer crust.
- Reduce the oven temperature to 350°F (175°C).
- Remove the pie briefly from the oven and place the foil shield over the top, loosely crimping it around the outer crust to prevent excessive browning.
- Return the pie to the oven and bake at 350°F for another 40 to 45 minutes.
- The pie is ready when the outer edges are deeply golden brown and the center crust is light golden. If using a lattice crust, the apple filling should be visibly bubbling.
Cool and Serve
- Transfer the pie to a wire cooling rack and allow it to cool for about 4 hours so the filling can set properly.
- Once completely cooled to room temperature, slice and serve.
Notes
For the best flavor, use a combination of apples. Granny Smith, Gala, and Golden Delicious work well together.
Peel and slice one apple at a time and immediately toss it with the lemon juice to help prevent browning.
The apples are pre-cooked so they reach the desired texture before baking. Adjust the stovetop cooking time according to how firm or tender you prefer them.
Chilling the fully assembled pie for 20 to 30 minutes before baking helps create a flaky crust.
Milk encourages browning while keeping the crust more matte. Beaten egg creates a glossier, shinier finish.
Allow the finished pie to cool for approximately 4 hours before slicing so the filling has time to set.
Serve with vanilla ice cream and caramel sauce if desired.
Store the pie covered at room temperature for up to 2 days. Refrigerate after that.