The Best Fluffy Pancakes recipe you will fall in love with. Full of tips and tricks to help you make the best pancakes.

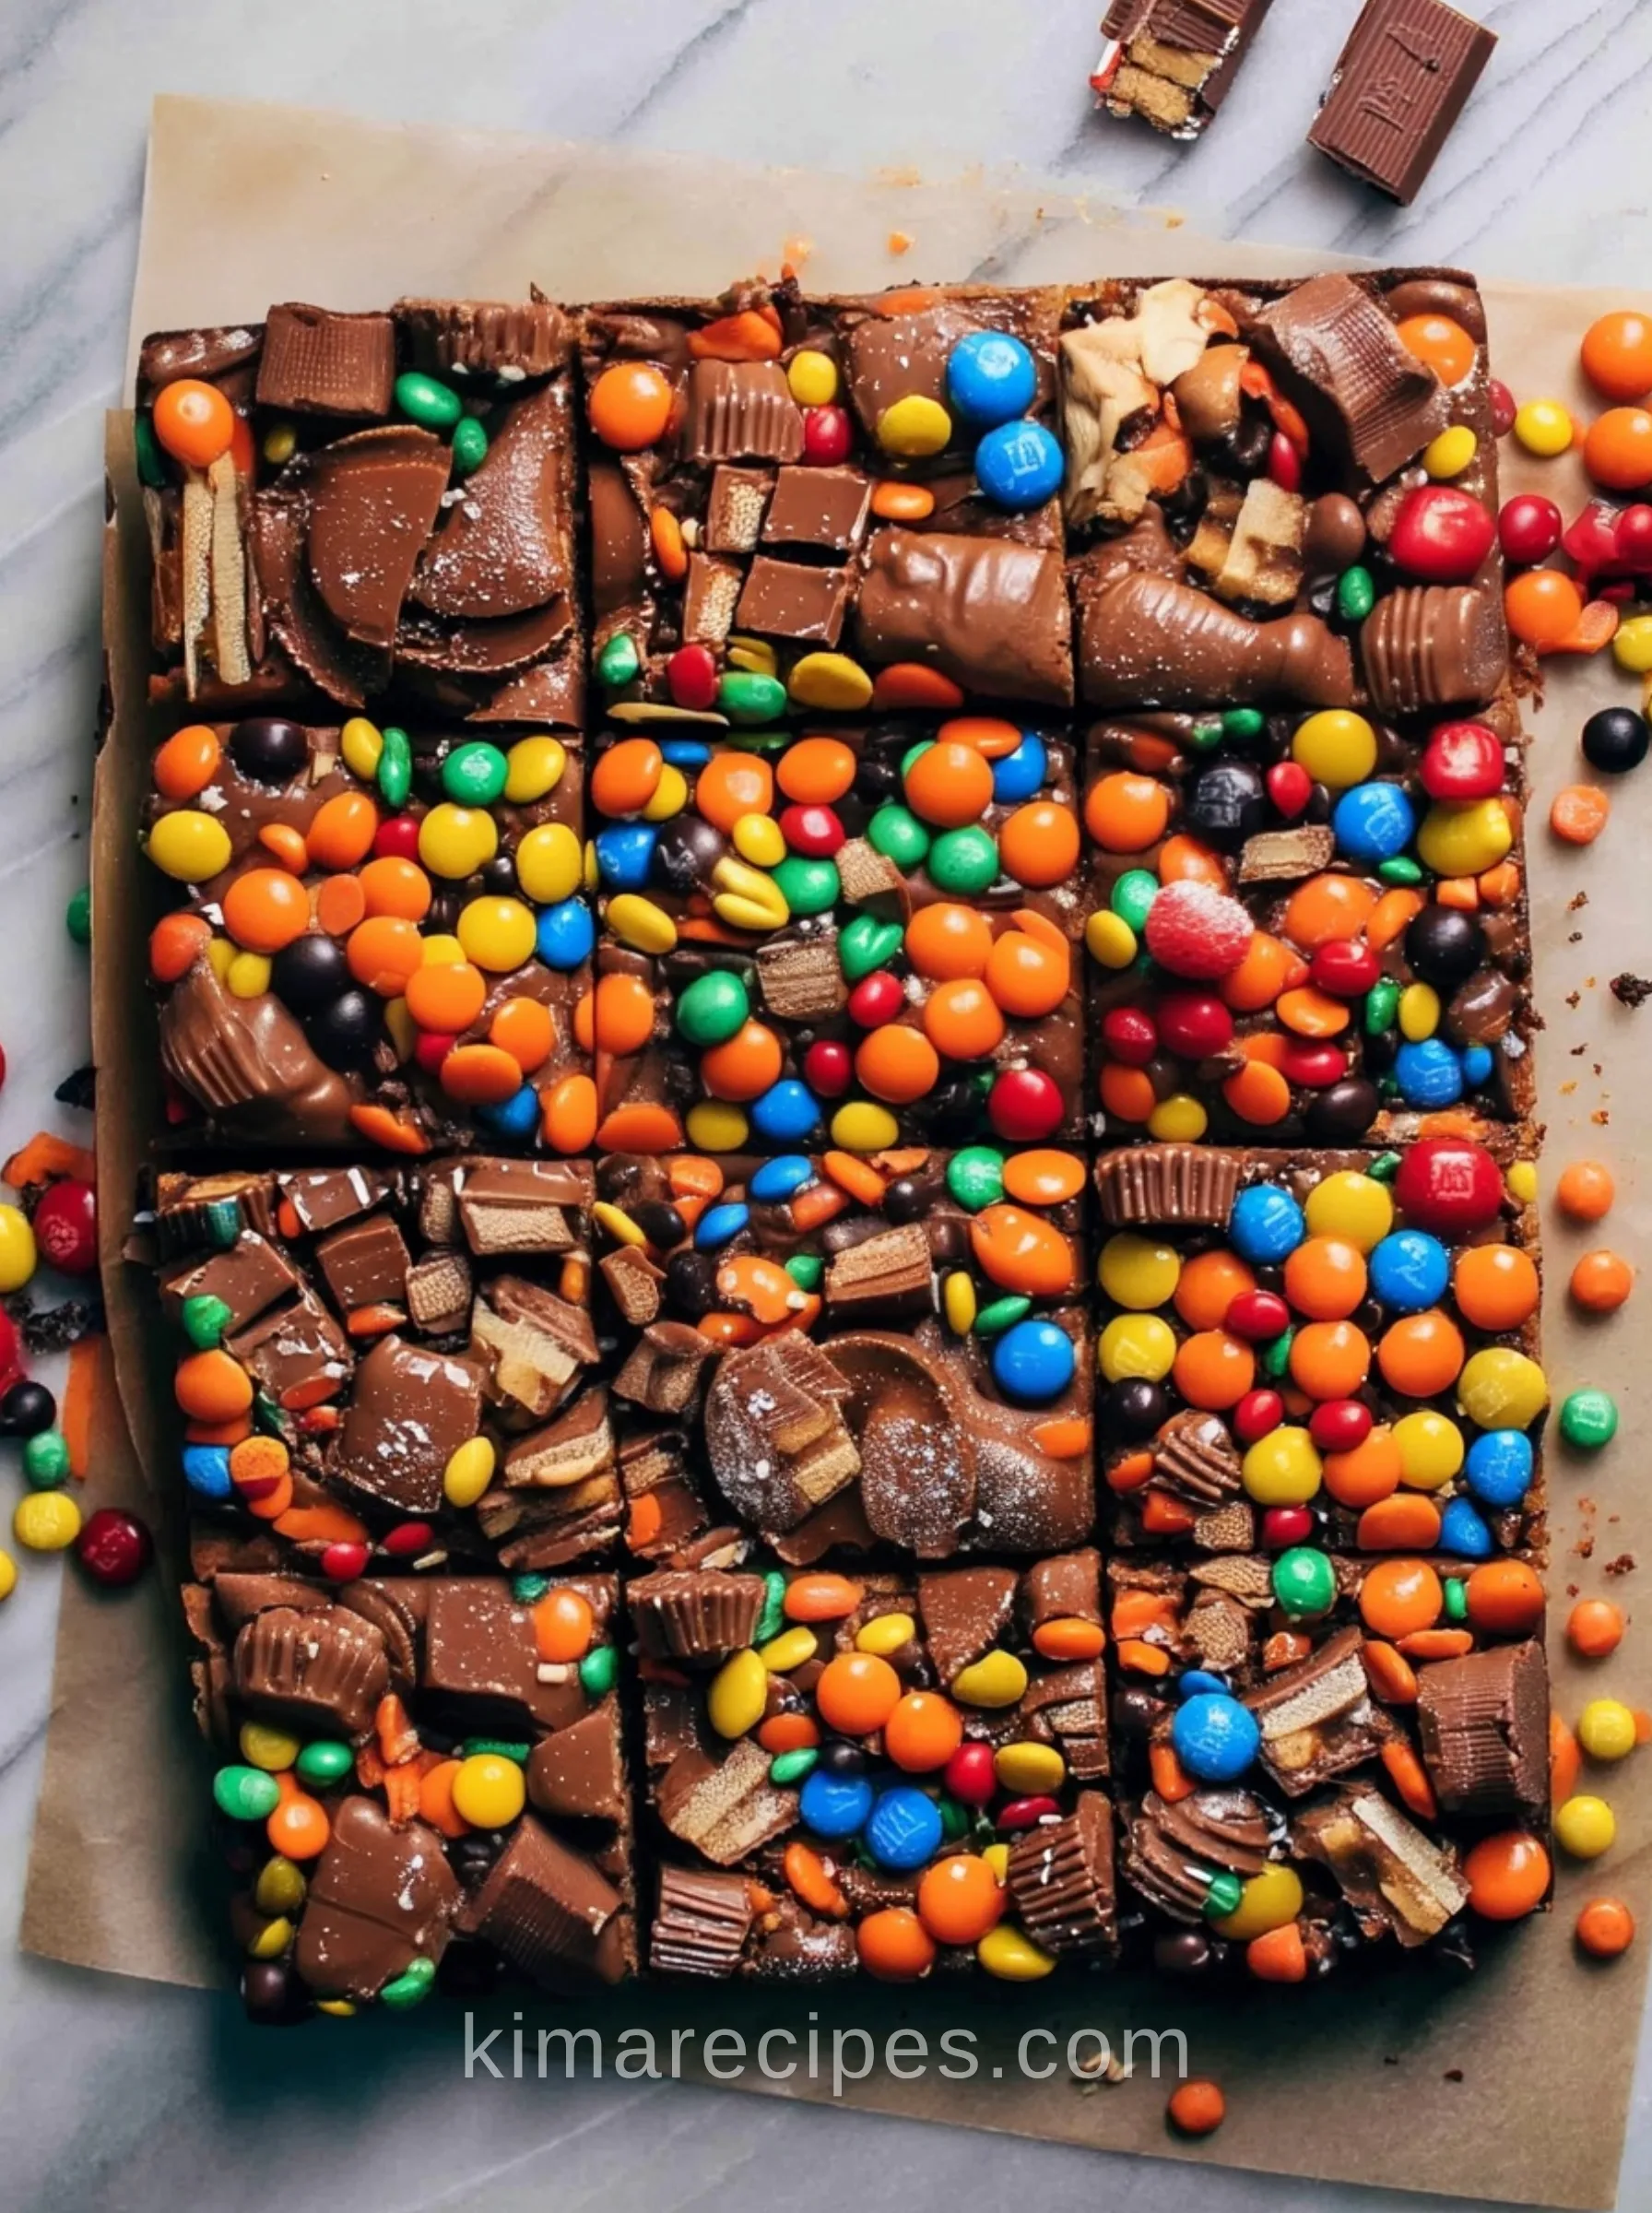
November 1st and there’s a bowl of half-unwrapped candy sitting on the counter that nobody’s touching anymore. That’s the exact moment these bars are for. Not a “fun way to repurpose candy” — a real dumping ground, chopped up and folded into a browned-butter-adjacent cookie bar base, then pinned down under a layer of melted chocolate so none of it slides off during baking.
The trick that took a few tries to land: freeze the topping candy before it goes anywhere near the oven. Room-temperature candy pieces slump and sink into the batter as it bakes. Frozen ones hold their shape just long enough for the chocolate chips underneath to melt and grab them in place. [PLACEHOLDER: note if this came from a specific failed batch]
Why This Works
Two things are doing the heavy lifting here, and neither is optional.
First, the split between “candy inside” and “candy on top.” The 1 1/4 cup that gets folded into the batter melts down slightly during baking — that’s fine, that’s supposed to happen, it’s what gives you gooey caramel and nougat pockets running through the bar. But if you did that with all your candy, the top would look like a mess of collapsed wrappers-worth of sugar syrup. Keeping the topping candy separate — and frozen — until the bars come out of the oven means it goes on decorative, not melted.
Second, the chocolate chip layer isn’t there for extra chocolate flavor. It’s glue. Spread thin and even across the batter before baking, it melts into a shallow pool right as the bars finish, and that’s the window you have to press the frozen candy in. Wait too long and the chocolate sets before the candy’s anchored. Move too fast and the candy sinks straight through to the batter. The 25-30 minute bake window matters for exactly this reason — pull it too early and the chips haven’t melted enough to hold anything.
Ingredients
- 1/2 cup (110g) unsalted butter, melted
- 1/2 cup (105g) light brown sugar, packed
- 1/4 cup (50g) granulated sugar
- 1 large egg
- 1 tsp vanilla extract
- 1 1/3 cup (175g) all-purpose flour
- 1/2 tsp baking powder
- 3/4 tsp kosher salt
- 1 1/4 cup chopped candy (tiny bite-sized pieces), plus more for the top
- 1/2 cup dark chocolate chips
- Flaky sea salt, for sprinkling on top
Instructions
- Chop the candy you’re saving for the top and stash it in the freezer. Don’t touch the 1 1/4 cup that’s going inside the batter — that stays at room temp.
- Preheat the oven to 350°F. Grease and line an 8×8 square baking dish.
- In a small bowl, whisk together the flour, baking powder, and salt.
- In a large mixing bowl, whisk the melted butter with both sugars, then whisk in the egg and vanilla until smooth.
- Switch to a rubber spatula and fold in the dry ingredients, followed by the 1 1/4 cup of chopped candy.
- Spread the batter evenly into the pan. Top with an even layer of dark chocolate chips — full coverage matters here, this is what holds the candy on top later.
- Bake 25-30 minutes.
- The second these come out of the oven, pull the candy from the freezer and press it into the still-melted chocolate layer while you can.
- Sprinkle with flaky sea salt and refrigerate about 30 minutes, or until the bottom of the pan isn’t hot to the touch anymore.
- Lift out, slice, and eat.
Prep Time: 30 minutes Cook Time: 25 minutes Cooling Time: 30 minutes Total Time: 1 hour 25 minutes Yield: 16 bars Category: Dessert Method: Baking Cuisine: American
Tips
- Chop candy small. Big chunks inside the batter bake unevenly — the outside softens, the center stays cold and stiff.
- Don’t skip the freezer step for the topping candy.
- Line the pan with parchment with overhang on two sides. These bars are dense enough that trying to lift them straight out of the pan without a sling usually ends with a cracked corner.
- If your chocolate chip layer looks patchy before baking, fix it now. Once it’s in the oven you can’t go back and add more.
Variations
Swap the dark chocolate chips for milk chocolate if the candy mix leans sweet already — dark keeps the whole bar from tipping into cloying. Peanut butter cups chopped into the batter work especially well; anything caramel-heavy (think fun-size caramel bars) gets sticky and gooey in the best way. Skip candy corn for the inside mix — it doesn’t chop cleanly and turns waxy once baked. It’s fine as a topping piece, pressed on after, but keep it out of the batter.
Make-Ahead
The dough itself doesn’t hold well unbaked — the leavening starts working the moment the wet and dry ingredients meet, and the candy pieces bleed color into the batter if it sits. Bake the full batch, then store the sliced bars in an airtight container at room temp for up to 3 days, or the fridge for a week. They don’t freeze particularly well; the topping candy gets a strange texture on thawing.
FAQ
Can I use any leftover Halloween candy for this?
Mostly yes, but chocolate-based and caramel-based candies work better than gummy or fruit-flavored ones, which can turn tough in the oven.
Do I have to freeze the topping candy?
Yes. This is the one step in the whole recipe that isn’t flexible — skip it and the candy sinks or slides before the chocolate sets around it.
Why did my bars come out greasy on top?
Probably too much melted butter relative to flour, or the pan wasn’t fully cooled before slicing — give the full 30 minutes in the fridge before cutting.
Can I double this recipe for a 9×13 pan?
Yes, double all ingredients and expect a slightly longer bake, closer to 32-35 minutes — check for a set center rather than going by time alone.
What’s the best candy for the top vs. the inside?
Small, dense pieces (mini peanut butter cups, chopped caramels) work best inside since they hold shape when folded into batter. Save anything with visual appeal — full-size candy pieces, colorful wrappable shapes — for the top where it’s just sitting in melted chocolate, not baking through.
Closing Thoughts
These freeze surprisingly well as a make-ahead lunchbox item if you skip decorating the top and just leave the candy folded into the batter — plain bars hold up in the freezer far better than ones layered with melted chocolate and toppings. Worth doing a second batch that way if you’ve got enough leftover candy to spare.
Leftover Halloween Candy Cookie Bars
These Leftover Halloween Candy Cookie Bars are soft, chewy, and loaded with chopped candy pieces and rich dark chocolate. They’re an easy way to turn extra Halloween candy into a fun dessert, with a melted chocolate topping that holds even more candy and a sprinkle of flaky sea salt for the perfect sweet-and-salty finish.
Ingredients
Equipment
Method
Instructions
- Chop the extra candy that will be used for decorating the tops of the bars into small pieces and place it in the freezer. Keep this separate from the 1 1/4 cups of chopped candy that will be mixed into the cookie dough.
- Preheat the oven to 350°F (175°C). Grease an 8×8-inch square baking dish and line it with parchment paper, leaving some overhang for easy removal.
- In a small mixing bowl, whisk together the all-purpose flour, baking powder, and kosher salt until evenly combined.
- In a large mixing bowl, whisk together the melted butter, light brown sugar, and granulated sugar until combined. Add the egg and vanilla extract and whisk again until smooth.
- Using a rubber spatula, fold the dry ingredients into the wet mixture just until combined. Fold in the 1 1/4 cups of chopped candy until evenly distributed.
- Spread the cookie dough evenly into the prepared baking dish. Sprinkle the dark chocolate chips evenly across the top. The chocolate will melt while baking and help hold the additional candy decorations in place.
- Bake for 25–30 minutes, or until the edges are lightly golden and the center is set.
- Immediately after removing the bars from the oven, take the reserved chopped candy from the freezer and press it gently into the melted chocolate chips on top.
- Sprinkle the top generously with flaky sea salt. Refrigerate the pan for about 30 minutes, or until the bottom of the baking dish is no longer hot.
- Use the parchment paper overhang to lift the cooled bars from the pan. Slice into 16 squares and serve.
Notes
Cut the candy into small bite-sized pieces so it distributes evenly throughout the cookie bars.
Freezing the candy used for topping helps prevent it from melting too quickly when pressed into the warm bars.
For the best texture, avoid overbaking. The bars should be lightly golden around the edges while remaining soft and chewy in the center.
Allow the bars to cool before slicing so they hold their shape cleanly.