The Best Fluffy Pancakes recipe you will fall in love with. Full of tips and tricks to help you make the best pancakes.

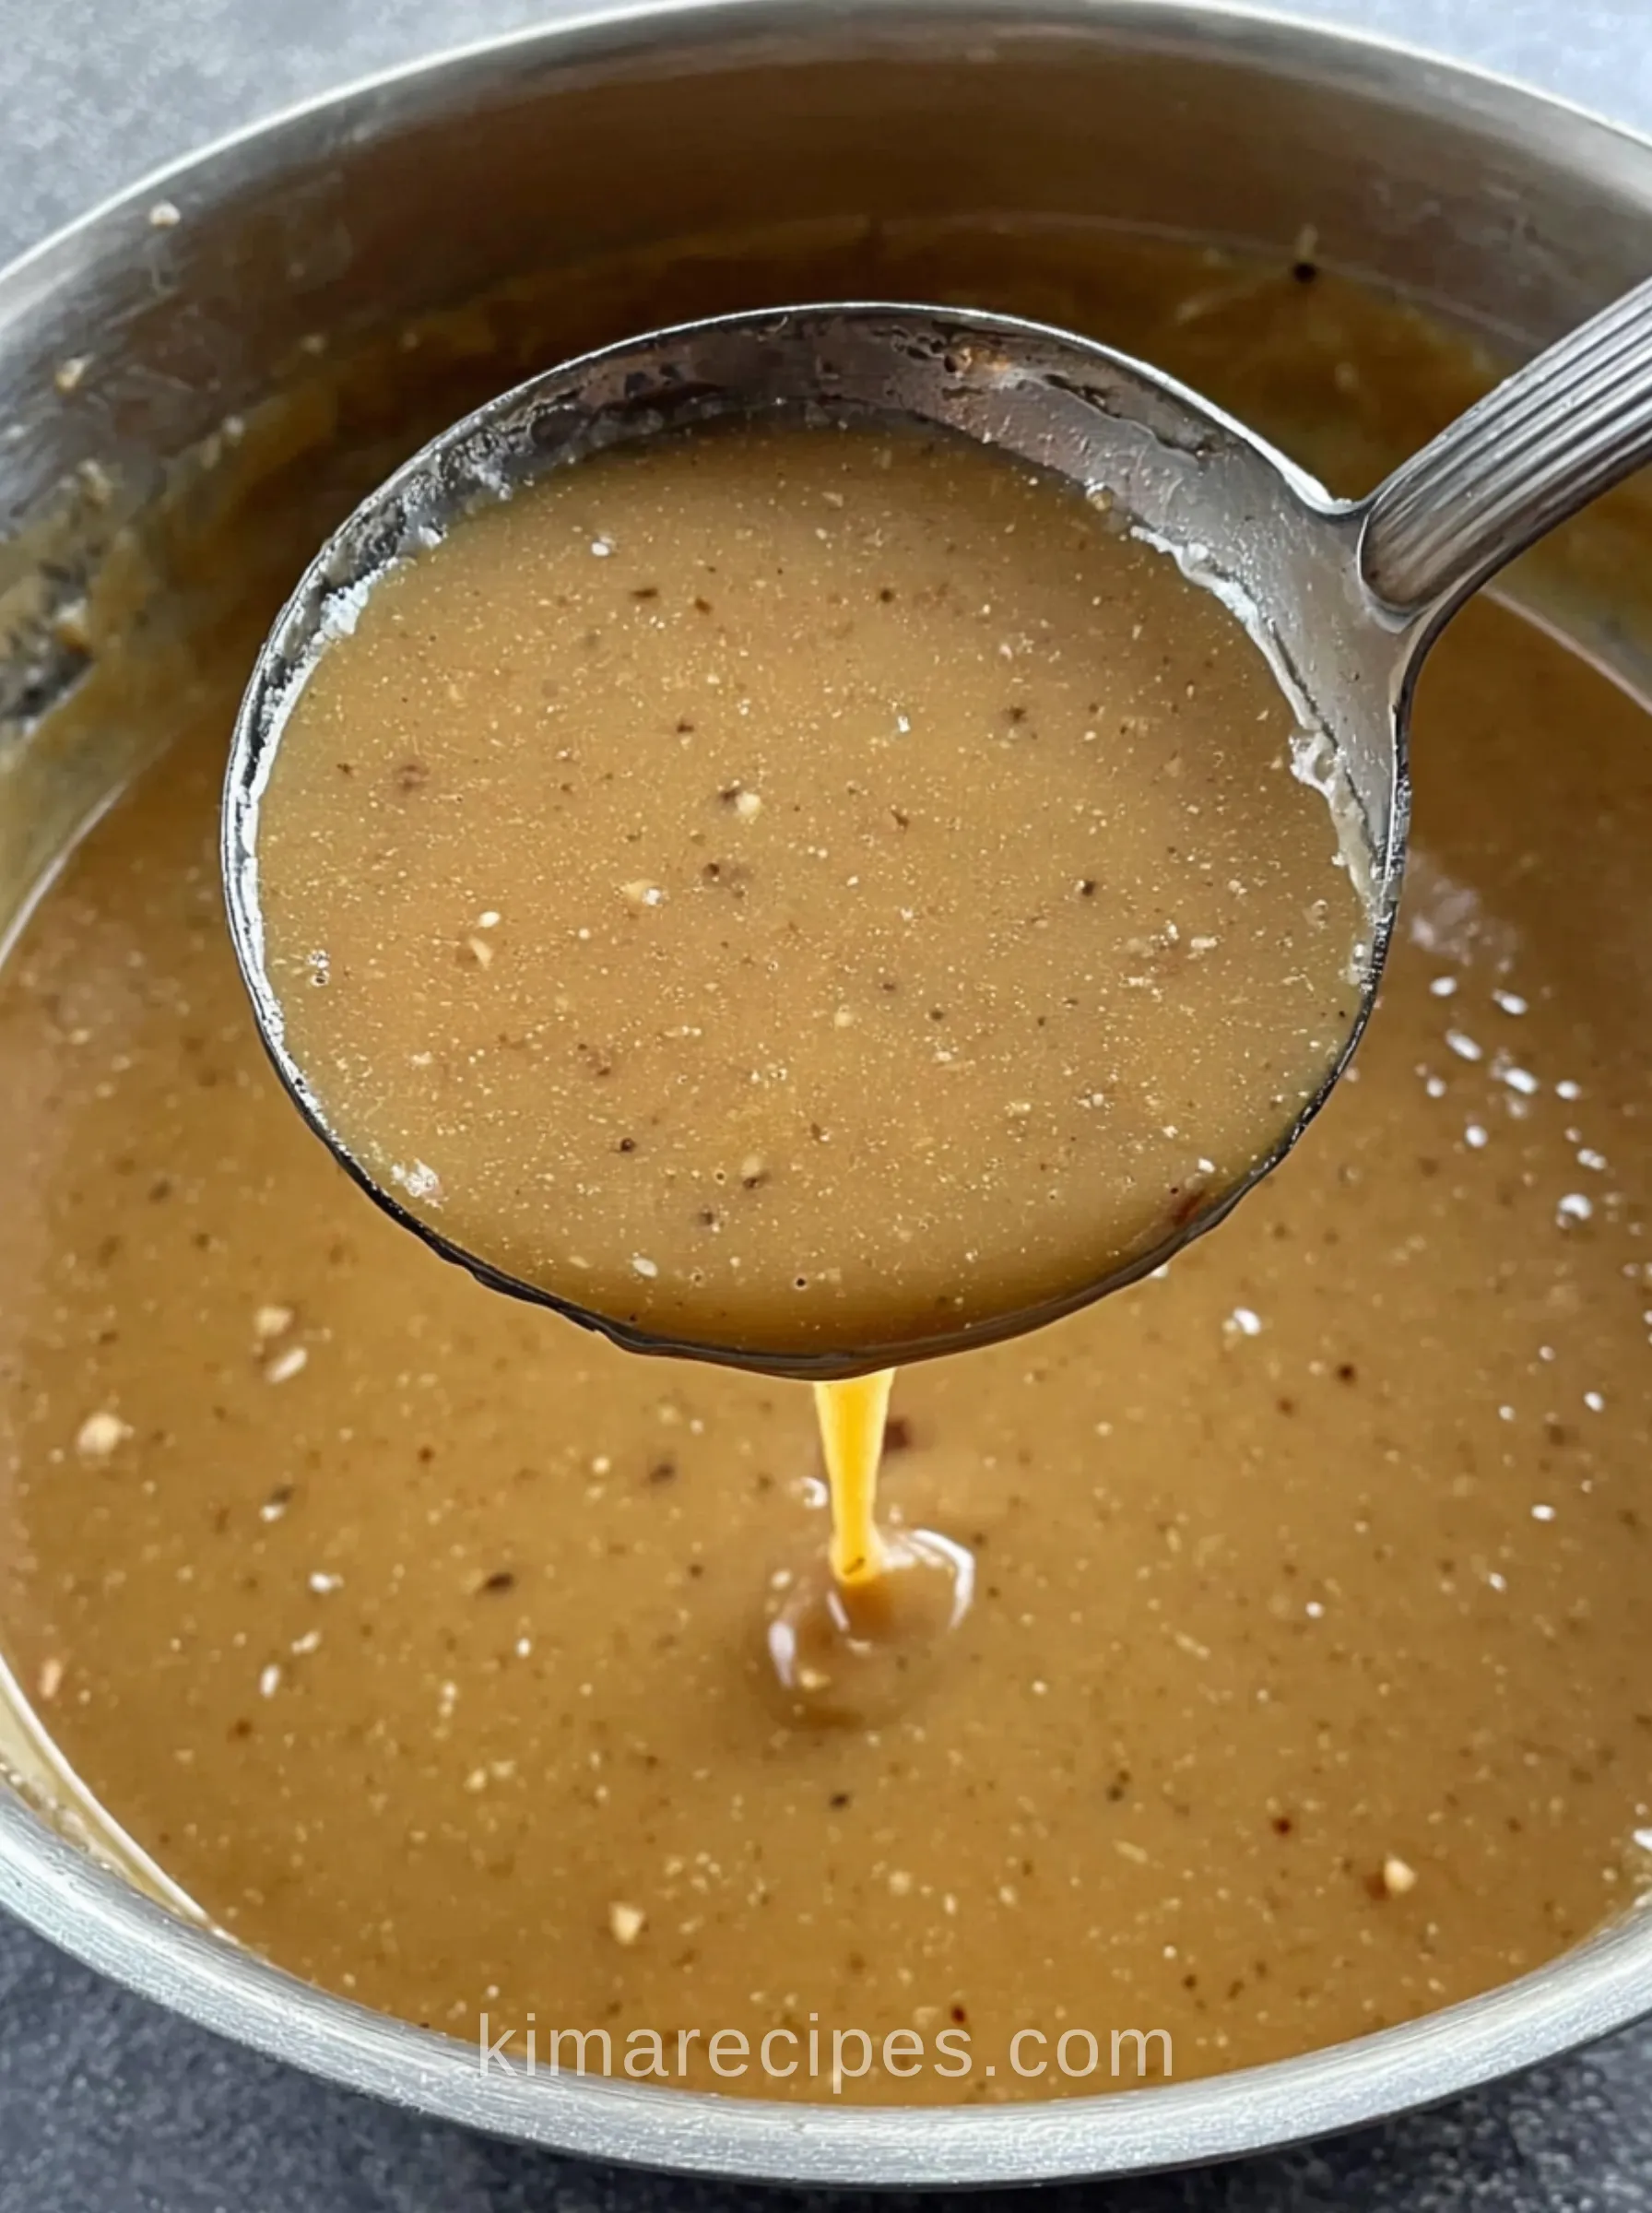
I roast the wings the same weekend every year — the week before Thanksgiving, because gravy is the one thing on that table I refuse to rush. Once you roast a full pan of turkey wings until the bottom of the pan turns dark and sticky, you realize stovetop-only gravy was never going to compete.
This isn’t a last-minute flour-and-drippings gravy. It’s a two-stage process: roast a real broth first, days ahead if you want, then turn it into gravy in twenty minutes flat on the day. Freezer to table, no scrambling.
Why This Works
Turkey wings have way more collagen and skin surface than a full bird’s drippings usually give you, and roasting them uncovered for an hour before adding any liquid is what makes the difference. Skip that step and add stock right away, and you get a thin, boiled taste — the fond never forms, so there’s nothing for the wine to lift off the pan. Roasting first, then deglazing with Chardonnay, then roasting again with stock in the pan, builds three separate layers of concentration instead of one.
The other detail people skip: pressing the vegetables through the colander instead of just letting the broth drip through. A potato masher against the strainer forces out the softened onion and carrot pulp along with the juice, and that pulp is doing real thickening work later. Skip the mashing and the broth strains clear — technically fine, but gravy made from it tastes flatter and needs more flour to get the same body.
Ingredients
For the Broth
- 6 turkey wings (I use 8 — the extra 2 pay for themselves in flavor)
- 2 onions, roughly chopped
- 4 celery stalks, roughly chopped
- 5 carrots, roughly chopped
- 1 garlic bulb, halved
- 1 bundle fresh thyme (about ¾ of a package)
- ¾ cup olive oil, for roasting
- 1 tablespoon salt
- 1 tablespoon black pepper
- 1 tablespoon dried sage
- ½ cup Chardonnay or other dry white wine
- 7 cups chicken stock
For One Batch of Gravy
- 5 tablespoons butter
- 5 tablespoons all-purpose flour
- ½ small onion, finely diced
- 5 cloves garlic, minced
- 4 cups turkey broth (from above)
- 1 tablespoon Lea & Perrins Worcestershire sauce
- 1 tablespoon Gravy Master (optional, for color)
- 1 tablespoon garlic powder, to taste
- Salt and pepper, to taste
Instructions
Roast the base
- Preheat the oven to 400°F.
- In a large roasting pan, combine the turkey wings, onions, celery, carrots, garlic, and thyme.
- Drizzle with olive oil, sprinkle with the salt, pepper, and sage, and toss everything together well.
- Roast for 1 hour, until the wings are golden and the pan smells like it’s doing something.
Add liquid and finish roasting 5. Pour in the Chardonnay and chicken stock. 6. Return the pan to the oven and roast for another 45 minutes.
Strain the broth 7. Pull out the turkey wings. 8. Strain everything through a large colander set over a stock pot. 9. Press down hard on the vegetables with a potato masher — you’re after every drop, not just what drips through on its own.
Make the gravy 10. Melt the butter in a large skillet over medium heat. 11. Add the diced onion with a pinch of salt and pepper, and sauté until translucent. 12. Add the minced garlic and cook for 2 minutes. 13. Whisk in the flour and cook until smooth and light golden — this is the roux, don’t rush past it. 14. Slowly pour in 2 cups of the broth, whisking constantly until it thickens. 15. Add another 2 cups of broth and bring to a gentle boil. 16. Boil for 3–5 minutes, until it starts to gloss up, then drop it to a low simmer. 17. Stir in the Worcestershire, Gravy Master, and garlic powder. 18. Taste. Adjust salt and pepper. 19. Simmer a few more minutes until it’s smooth, glossy, and coats the back of a spoon.
Tips
- Don’t skip pressing the vegetables through the strainer — that’s where a chunk of the body in this gravy comes from, not just the roux.
- If your roux looks grainy or breaks when you add broth, your butter probably wasn’t fully melted before the flour went in. Slow the whisk down, not the heat.
- Gravy Master is there for color, not flavor — a spoon too much and it turns bitter fast. Start with half a tablespoon if you’re nervous.
Variations
Some people swap the chicken stock for turkey stock made from a carcass — skip it unless you already have one in the freezer; buying bones just to make stock for a stock you’re about to make again is a wasted step here. Worth trying: subbing in a splash of dry sherry instead of Chardonnay if that’s what’s open. Not worth trying: skipping the wine altogether — the deglazing step is doing real work lifting fond off the pan, and stock alone doesn’t do the same job.
Make-Ahead Notes
The broth freezes well for up to 3 months and the finished gravy holds in the fridge for about 4 days — but don’t freeze the finished gravy itself. The roux-thickened texture breaks down and separates on thawing, and no amount of re-whisking brings it fully back. Freeze the broth, and make the roux fresh on the day; it only takes 20 minutes anyway.
FAQ
Can I make turkey gravy ahead of time?
Yes — that’s the whole point of this recipe. Make the broth up to 3 days ahead (or freeze it for months), then finish the actual gravy the day you need it.
Why is my gravy thin?
Usually one of two things: the roux didn’t cook long enough before you added liquid, or you added the broth too fast and it never had a chance to thicken in stages. Add broth slowly, in the 2-cup increments this recipe calls for, and give it time at a simmer before deciding it needs more flour.
Do I have to use turkey wings specifically?
You can use turkey necks or backs instead, but I’d skip drumsticks — too much meat, not enough of the skin and connective tissue that make the broth rich.
Can I double the gravy?
Yes, this batch scales cleanly. Just keep the broth-to-roux ratio the same and thicken in the same staged pours rather than dumping all the broth in at once.
Closing Thoughts
Once the broth is made, this stops being a Thanksgiving-day task and turns into a 20-minute stovetop job you can knock out while the turkey rests.
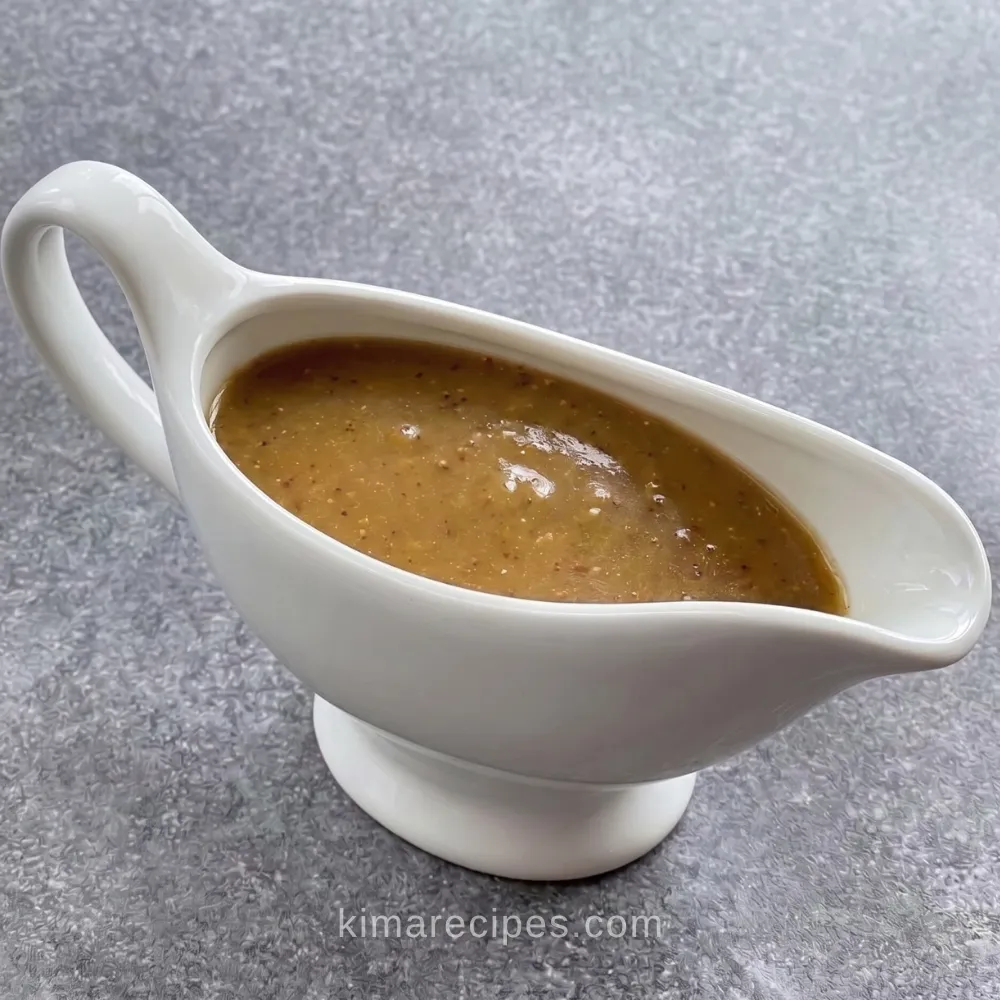
Make Ahead Turkey Gravy
This rich and savory Make Ahead Turkey Gravy starts with a deeply flavored homemade turkey broth made from roasted turkey wings, vegetables, herbs, wine, and chicken stock. The finished gravy is smooth, creamy, and perfect for preparing ahead for Thanksgiving, Christmas, or any holiday dinner.
Ingredients
Equipment
Method
Roast the Turkey and Vegetables
- Preheat the oven to 400°F (200°C).
- Place the turkey wings, roughly chopped onions, celery, carrots, halved garlic bulb, and fresh thyme in a large roasting pan.
- Drizzle everything with the olive oil. Sprinkle with the salt, black pepper, and dried sage, then toss until evenly coated.
- Roast for 1 hour, or until the turkey wings and vegetables are deeply golden and fragrant.
Add the Liquid
- Pour the Chardonnay and chicken stock into the roasting pan.
- Return the pan to the oven and roast for another 45 minutes to develop a rich, concentrated broth.
Strain the Turkey Broth
- Remove the turkey wings from the roasting pan and set them aside.
- Place a large colander over a stock pot and carefully strain the broth, vegetables, and roasting juices into the pot.
- Use a potato masher to press the roasted vegetables firmly against the colander to extract as much flavorful liquid as possible. Discard the strained vegetables.
Make the Gravy
- In a large skillet over medium heat, melt the butter.
- Add the finely diced onion with a small pinch of salt and black pepper. Cook until the onion is soft and translucent.
- Add the minced garlic and cook for about 2 minutes, stirring frequently.
- Whisk in the all-purpose flour and cook until the mixture is smooth and lightly golden.
- Slowly pour in 2 cups of the prepared turkey broth while whisking constantly to prevent lumps. Continue whisking until the mixture begins to thicken.
- Add the remaining 2 cups turkey broth and whisk until smooth. Bring the gravy to a gentle boil.
- Boil gently for 3–5 minutes, or until the gravy begins to thicken and develop a glossy appearance. Reduce the heat to a low simmer.
- Stir in the Worcestershire sauce, optional Gravy Master, and garlic powder.
- Taste the gravy and adjust with additional salt and black pepper as needed.
- Continue simmering for a few more minutes, stirring occasionally, until the gravy is smooth, creamy, rich, and reaches your preferred consistency.
Notes
The roasted and strained turkey broth yields approximately 10 cups, enough for more than one batch of gravy.
One batch of gravy uses 4 cups of the prepared turkey broth and can be doubled or tripled as needed.
The roasted turkey wings can be saved and served as part of another meal.
Gravy Master is optional but gives the finished gravy a deeper, richer brown color.
The turkey broth and gravy can be prepared ahead of time and reheated before serving. If the gravy becomes too thick while reheating, whisk in additional turkey broth a little at a time until the desired consistency is reached.