The Best Fluffy Pancakes recipe you will fall in love with. Full of tips and tricks to help you make the best pancakes.

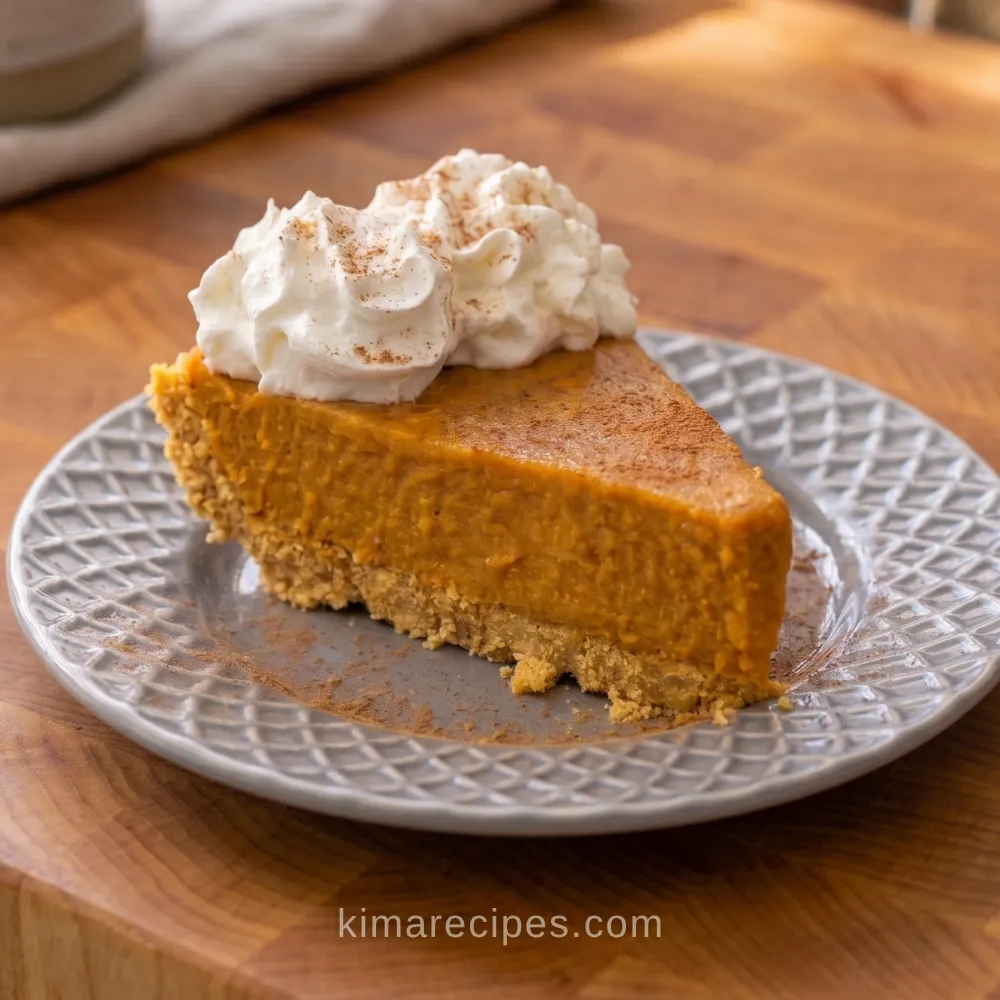
There’s a very specific kind of stress that comes with holiday oven math — the turkey needs it at 3, the rolls need it at 4:30, and somehow the pie is supposed to bake at 350 for an hour in between. I started making this one on the stovetop instead, and it hasn’t gone back in the oven since.
This isn’t a custard pie pretending to skip a step. It sets with gelatin, so the texture lands somewhere between a classic baked pumpkin pie and a pumpkin mousse — sliceable, but with a little give to it.
Why This Works
Gelatin needs to bloom before it can do its job, which is why it gets whisked into the dry spices first instead of dumped straight into a hot pan. Skip that step and you risk clumps of unbloomed gelatin sitting in your filling instead of a smooth set. [PLACEHOLDER: an actual instance of this happening during testing]
Cooking the egg and condensed milk mixture over medium heat until it thickens does two things at once: it pasteurizes the eggs, since this filling never sees an oven, and it activates the gelatin so the whole mixture can set once it’s chilled. Pull it too early, before it thickens, and the pie won’t hold a clean slice — it’ll slump when you cut into it.
Pumpkin puree gets folded in last, off the heat. Cook it any longer than that and you’re just cooking moisture out of the pumpkin for no reason.
Ingredients
- 0.25 oz unflavored gelatin (one envelope)
- 1/8 teaspoon ground nutmeg
- 1/8 teaspoon ground ginger
- 1 teaspoon ground cinnamon
- 1/2 teaspoon salt
- 1 can sweetened condensed milk (14 oz)
- 2 eggs
- 1 can pumpkin puree (15 oz)
- 1 pre-made pie crust (graham cracker works well here)
Instructions
- In a small bowl, whisk together the gelatin, nutmeg, ginger, cinnamon, and salt.
- In a medium saucepan, whisk the eggs and condensed milk together until fully blended.
- Stir the dry ingredients into the saucepan. Cook over medium heat, stirring, until the mixture starts to thicken — about 10 to 12 minutes.
- Remove from heat and mix in the pumpkin puree until smooth and fully combined.
- Pour the filling into the pie crust and spread it into an even layer.
- Chill until fully set, at least 3 to 5 hours.
Prep Time: 10 minutes Cook Time: 5 minutes Chill Time: at least 3-5 hours Servings: 10 Course: Dessert Cuisine: American
Tips
- Don’t walk away from the saucepan during step 3. The mixture goes from thin to thick fairly quickly once it gets going, and a scorched bottom will show up as flecks in the finished pie.
- A whisk works better than a spoon for step 2 — it breaks the eggs down into the condensed milk faster, so you’re not still chasing streaks once it hits the heat.
- Give the crust a few minutes to come to room temperature before you pour, especially with a graham cracker crust straight from the fridge. A cold crust can make the warm filling set unevenly at the edges.
Variations
Swap the graham cracker crust for a shortbread crust if you want something less sweet against the filling — it holds up well and doesn’t fight the pumpkin spice. I’d skip a chocolate cookie crust here; it competes with the spice instead of backing it up.
Make-Ahead
This pie is built for making ahead — it needs the chill time regardless, so there’s no downside to doing it a day early. What doesn’t work is freezing it: the gelatin-set filling gets watery and separates as it thaws, so plan for fridge time only, not freezer time.
FAQ
Can I use fresh pumpkin instead of canned puree?
Yes, but drain it well first. Fresh roasted pumpkin holds more water than canned puree, and extra moisture in the filling will fight the gelatin’s set.
Why is my pie not setting?
Usually one of two things: the gelatin didn’t fully bloom before it went into the saucepan, or the mixture came off the heat before it thickened in step 3. Both matter more than the chill time itself.
Do I need to bake the crust first?
No — that’s the point of this recipe. A pre-made crust, baked or no-bake, works as-is since the filling never touches the oven.
Is this the same as a pumpkin mousse pie?
Close, but not quite. It’s set with gelatin like a mousse, but the cooked egg and condensed milk base gives it a denser, more traditional pumpkin pie bite than a whipped mousse filling would.
Closing Thoughts
This one earns a spot on the Thanksgiving table specifically because it doesn’t need a slot in the oven schedule. Slice it cold, straight from the fridge — it holds its shape better than a baked pumpkin pie does at room temperature, which makes it a decent make-ahead option even outside of the holidays.
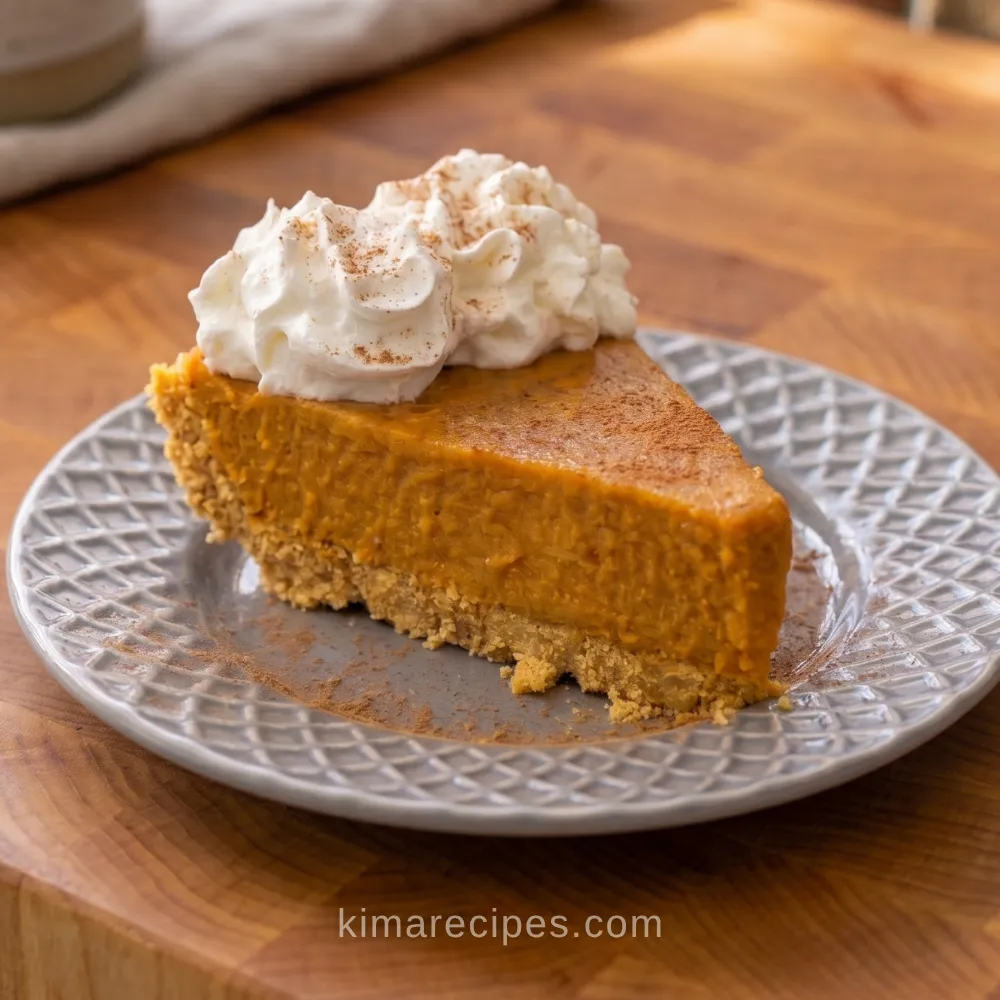
No Bake Pumpkin Pie
This easy No Bake Pumpkin Pie is smooth, creamy, and perfectly spiced with cinnamon, nutmeg, and ginger. Made with pumpkin puree, sweetened condensed milk, and a ready-made graham cracker crust, it is a simple fall dessert that is perfect for Thanksgiving, holidays, or anytime you are craving pumpkin pie without turning on the oven.
Ingredients
Equipment
Method
Instructions
- In a small mixing bowl, whisk together the unflavored gelatin, ground nutmeg, ground ginger, cinnamon, and salt until evenly combined.
- In a medium saucepan, whisk together the eggs and sweetened condensed milk until smooth and well blended.
- Stir the dry gelatin and spice mixture into the saucepan. Cook over medium heat, stirring frequently, until the mixture begins to thicken, about 10–12 minutes.
- Add the pumpkin puree and stir until completely incorporated and the filling is smooth.
- Pour the pumpkin filling into the prepared pie crust and use a spatula to spread the surface into an even layer.
- Transfer the pie to the refrigerator and chill until completely set. Allow at least 3–5 hours for the firmest texture before slicing and serving.
Notes
A prepared graham cracker crust works especially well with this creamy pumpkin filling.
For the cleanest slices, chill the pie until completely firm before serving. Although the listed recipe time includes 2 hours of chilling, the original instructions recommend allowing 3–5 hours for the pie to fully set.
Stir the filling frequently while cooking so the egg mixture heats evenly and does not stick to the saucepan.
Keep refrigerated until ready to serve.
Nutrition information is an estimate only and may vary depending on the exact ingredients and serving size.