The Best Fluffy Pancakes recipe you will fall in love with. Full of tips and tricks to help you make the best pancakes.

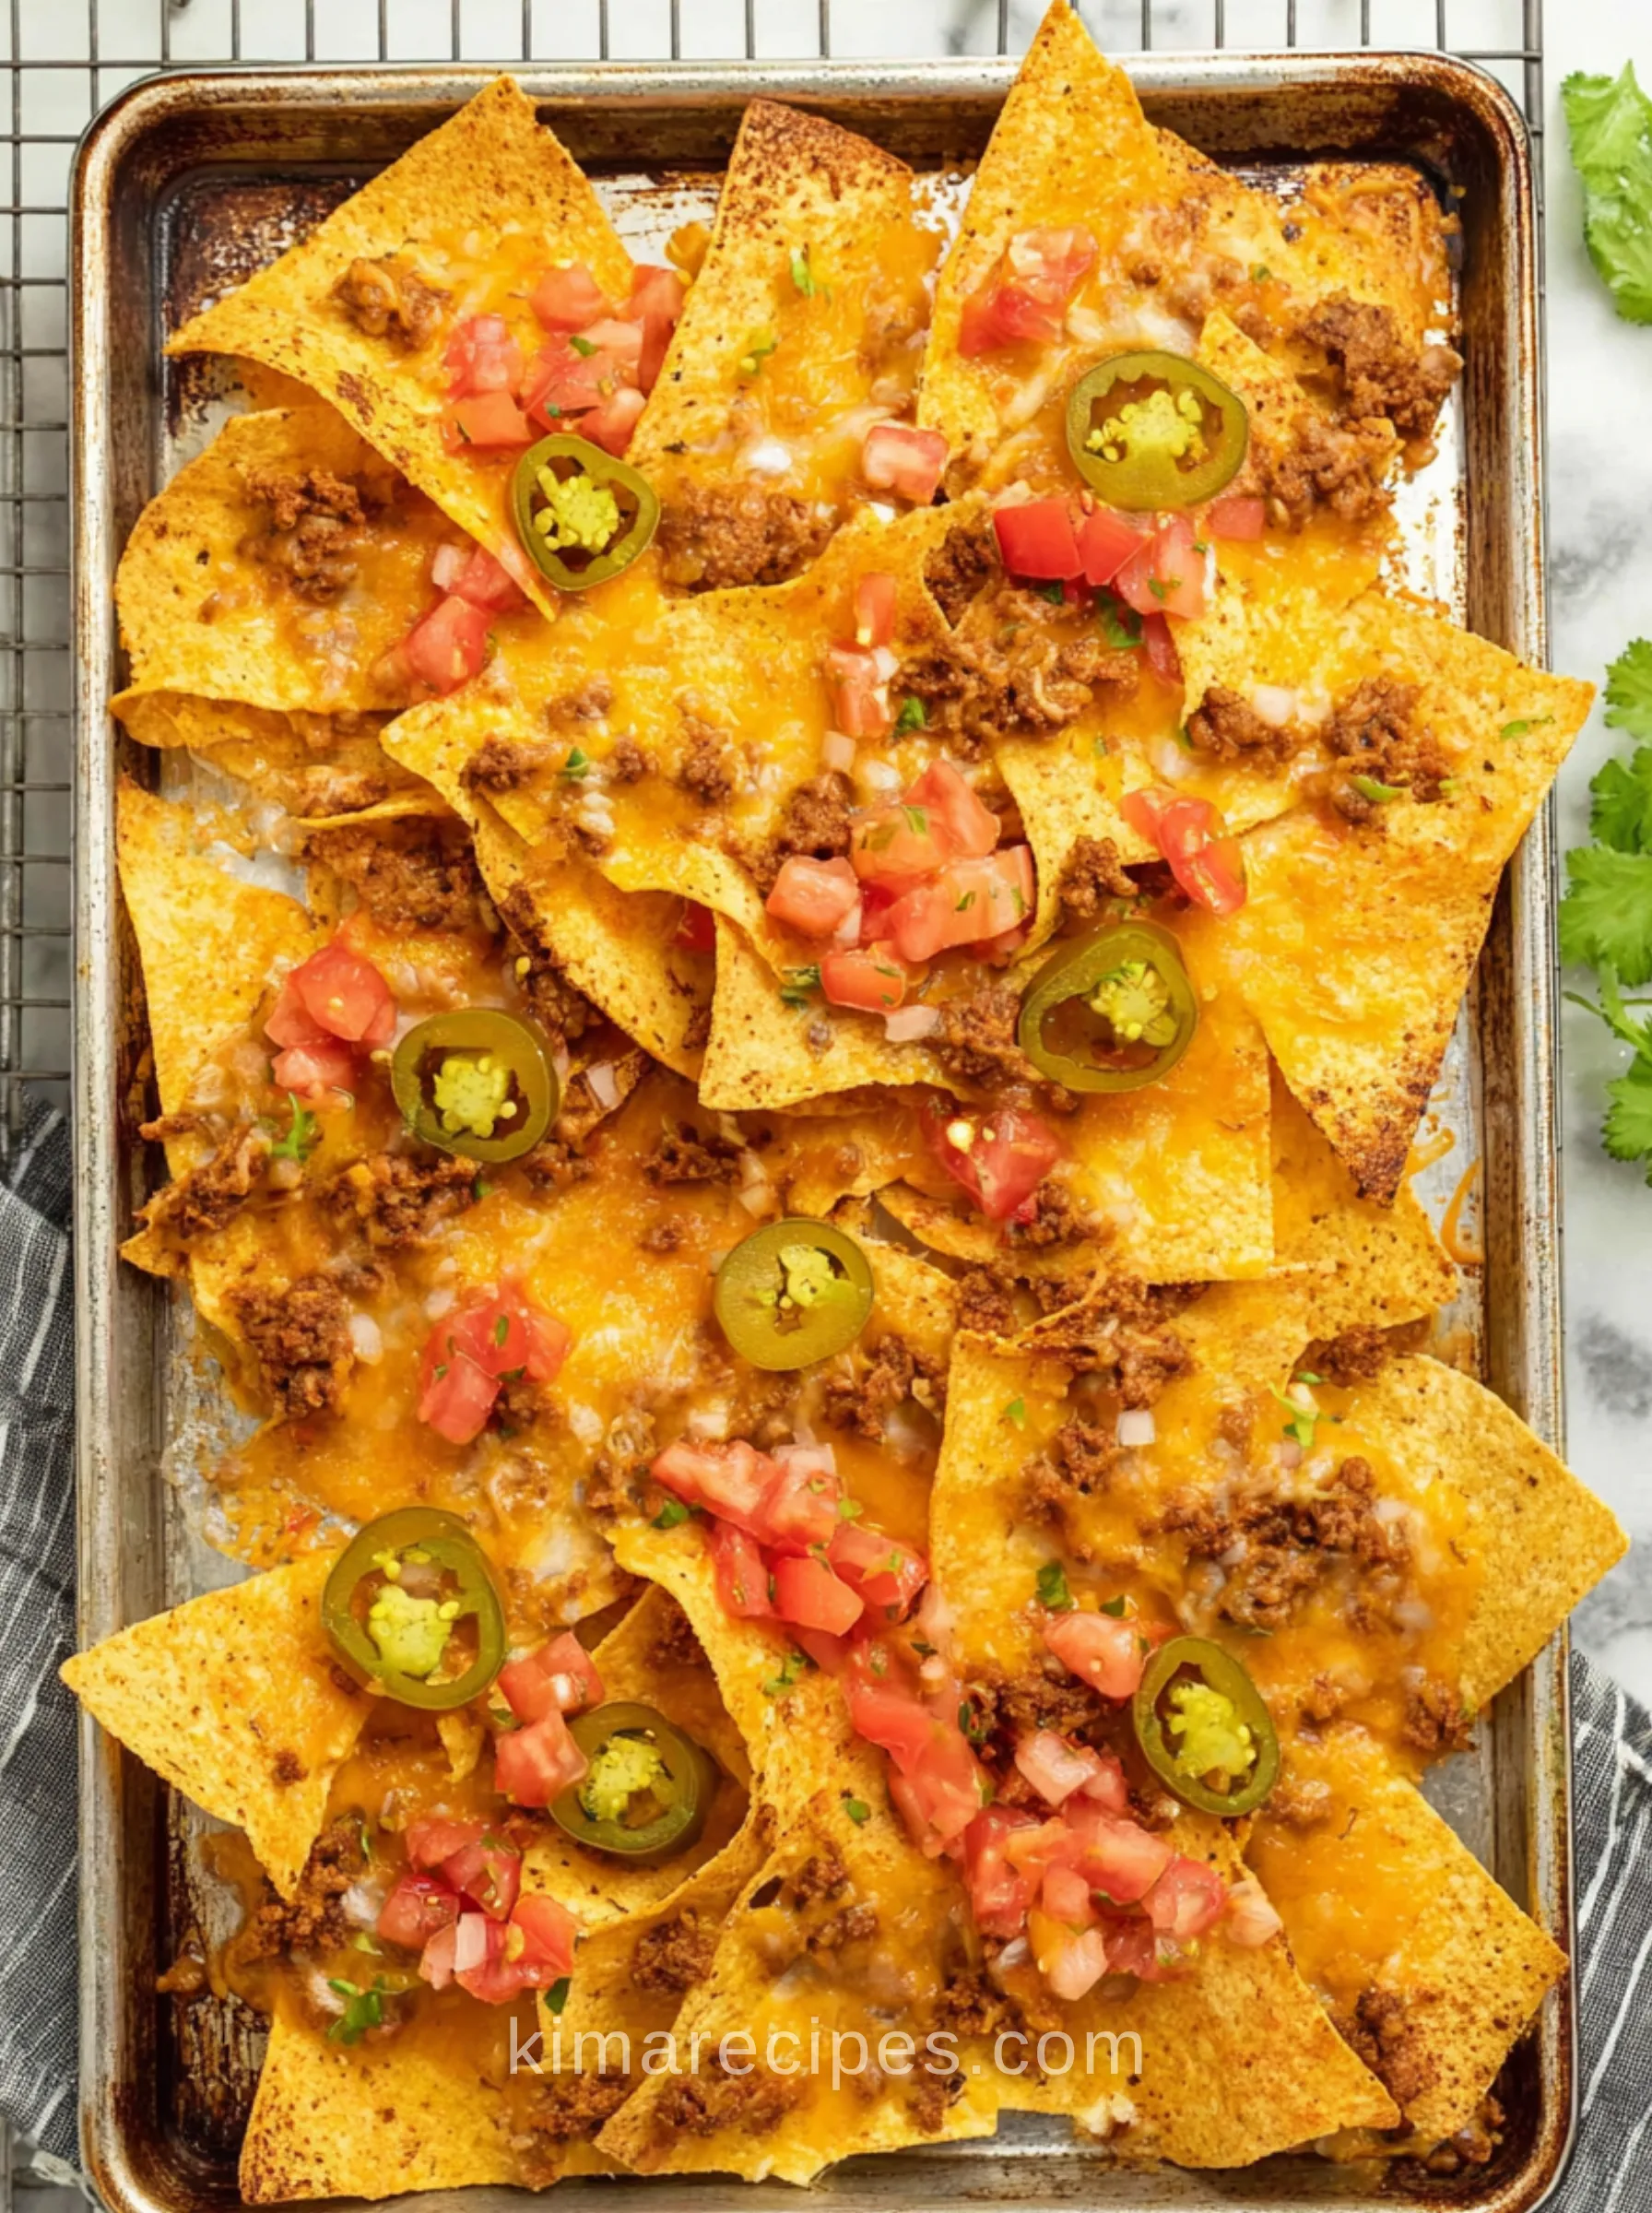
That’s the whole pitch. Ground beef, tortilla chips, cheese, broiler. Twenty minutes, most of it hands-off.
I know nacho purists want individual layers, careful chip placement, three passes under the broiler so nothing’s ever soggy on the bottom. I don’t have time for that on a Tuesday. One layer, one broil, toppings go on cold at the end. It works.
Why This Works
The order matters more than people think. [PLACEHOLDER: The first time I made these I dumped the meat on before draining it properly, and the chips underneath turned to mush in about four minutes flat — greasy, sad, not what you want.] Drain the beef. Actually drain it, not just tilt the pan and hope. That grease is the enemy of a crisp chip.
Broiling instead of baking matters too. A regular 400°F oven takes too long, the chips near the edges start going stale before the cheese even melts all the way. The broiler gets the cheese bubbling in 2 to 3 minutes flat, chips barely have time to soften.
And the cold toppings go on after the broiler, never before. Sour cream under a broiler breaks. Diced tomatoes under a broiler go watery and slide everything around. Add them once the pan’s out and cooling.
Ingredients
- 3 tablespoons taco seasoning (or 1 store-bought packet)
- 1 pound ground beef — I use 80/20, the fat renders out anyway once you drain it
- 8 ounces tomato sauce
- 14 ounces tortilla chips (I use the lime ones, TOSTITOS Hint of Lime specifically — regular chips work fine too, just less zing)
- 2 cups shredded cheddar
- Sliced olives
- Diced tomatoes
- Jalapeños
- Sour cream
- Guacamole
Instructions
- Cook the ground beef in a frying pan over medium heat, breaking it apart as it browns.
- Once it’s no longer pink, drain the fat. Don’t skip this.
- Stir in the tomato sauce and taco seasoning.
- Drop the heat to low, simmer 5 minutes so it thickens slightly.
- Spray a rimmed baking sheet with cooking spray.
- Spread the tortilla chips out in a single-ish layer.
- Top with the taco meat, then the shredded cheddar.
- Broil 2 to 3 minutes — watch it, broilers vary and this goes from melted to burnt fast.
- Pull it out, pile on the rest of the toppings, serve straight off the pan.
Prep time: 5 minutes Cook time: 15 minutes Total time: 20 minutes Servings: 4 Course: Appetizer Cuisine: Mexican
Tips
- I learned the hard way that spreading chips too thick means the middle layer never gets cheese or heat — they just sit there sad and bare. Keep it closer to one layer, maybe slightly overlapping.
- Watch the broiler the whole time. Don’t walk away, don’t check your phone. 2 to 3 minutes is not a suggestion, it’s closer to a warning.
- If your cheese is pre-shredded from a bag, it won’t melt quite as smooth — the anti-caking coating gets in the way. Block cheese, shredded yourself, melts better.
Variations
Swap the ground beef for shredded rotisserie chicken tossed in taco seasoning if you want something lighter — works fine, don’t need the tomato sauce step at all. I’d skip doing this with ground turkey though; it dries out fast under a broiler and the nachos end up tasting more like the seasoning packet than actual meat.
Make-Ahead
Cook the meat mixture ahead, no problem — keeps in the fridge 3-4 days, reheat and assemble when you’re ready. The nachos themselves, though, don’t hold. Once they’re built and broiled they need to be eaten now. Chips go soft within the hour and there’s no fixing that.
FAQ
Can I make sheet pan nachos ahead of time?
The meat, yes. The assembled nachos, no — they don’t survive sitting around.
What’s the best cheese for nachos?
Cheddar melts well and tastes like nachos are supposed to taste, but I’ll be honest, a cheddar-jack blend melts even smoother if you’ve got it. Straight cheddar is what I keep stocked though, so that’s the default here.
Why are my nachos soggy?
Usually one of two things: the beef wasn’t drained enough, or the toppings went on before the broiler instead of after. Wet ingredients plus hot chips equals mush.
Do I need a rimmed baking sheet?
Yes — a flat sheet lets grease and cheese run right off the edges onto your oven floor. Rimmed, always.
Closing Thoughts
These show up on our table more during football season than any other time of year — they travel well enough to bring to a friend’s place too, just build them there instead of transporting a fully broiled sheet pan across town. Good with a cold beer, good with lime wedges squeezed over the top right before serving.
Easy Spinach Artichoke Dip
This Easy Spinach Artichoke Dip is creamy, cheesy, and packed with spinach, marinated artichokes, green chilies, jalapeños, and Parmesan. Baked until hot, bubbly, and lightly golden, it makes an easy crowd-pleasing appetizer for parties, holidays, and game day.
Ingredients
Equipment
Method
Prepare the Oven
- Preheat the oven to 350°F (175°C).
Make the Dip
- Add the softened cream cheese and mayonnaise to a large mixing bowl.
- Mix until smooth and creamy.
- Add the Parmesan cheese, drained green chilies, drained jalapeños, chopped artichoke hearts, and thoroughly drained spinach.
- Mix until all of the ingredients are evenly combined.
Bake
- Transfer the dip mixture to a baking dish and spread it into an even layer.
- Place the baking dish on the middle oven rack and bake for approximately 30 minutes, or until the dip is hot and bubbling around the edges and the top begins to turn lightly golden brown.
Serve
- Remove from the oven and serve warm with crackers, tortilla chips, pita chips, bagel chips, sliced baguette, or your favorite dippers.
Notes
- Drain the spinach thoroughly: Removing as much liquid as possible from the thawed spinach is important. Excess moisture can make the finished dip watery.
- Artichokes: Drain the marinated artichoke hearts well and remove any tough or fibrous pieces before chopping.
- Cream cheese: Allow the cream cheese to soften to room temperature before mixing so the base becomes smooth and creamy.
- Jalapeños: The canned jalapeños add a little heat. Reduce the amount if you prefer a milder dip.
- Parmesan: Freshly grated Parmesan melts and blends into the dip especially well.
- Doneness: The dip is ready when it is bubbling around the edges and beginning to develop a light golden color on top.
- Serving: Serve warm with crackers, tortilla chips, pita chips, bagel chips, sliced baguette, or fresh vegetables.
- Storage: Refrigerate cooled leftovers in an airtight container for up to 3-4 days.
- Reheating: Reheat in the oven or microwave until hot throughout. Stir gently if needed before serving.